
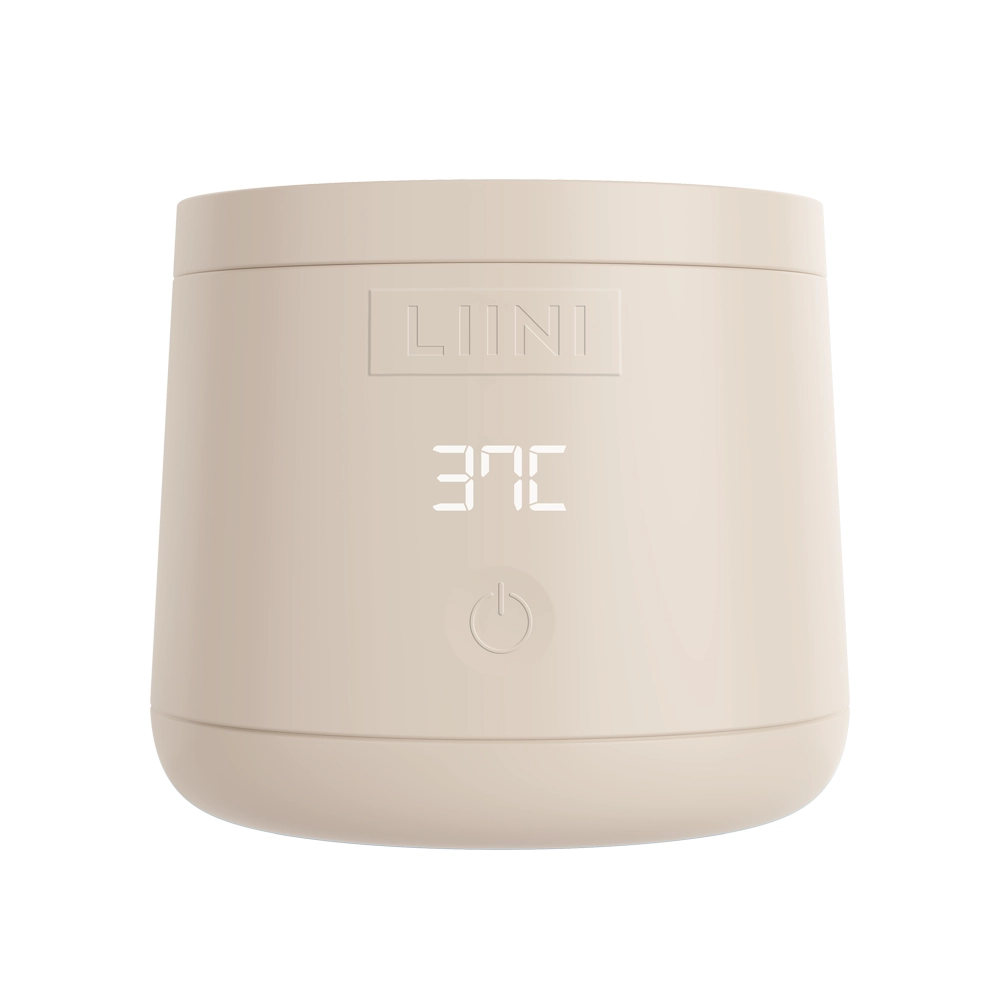
 4.0 PRObattery · on the go
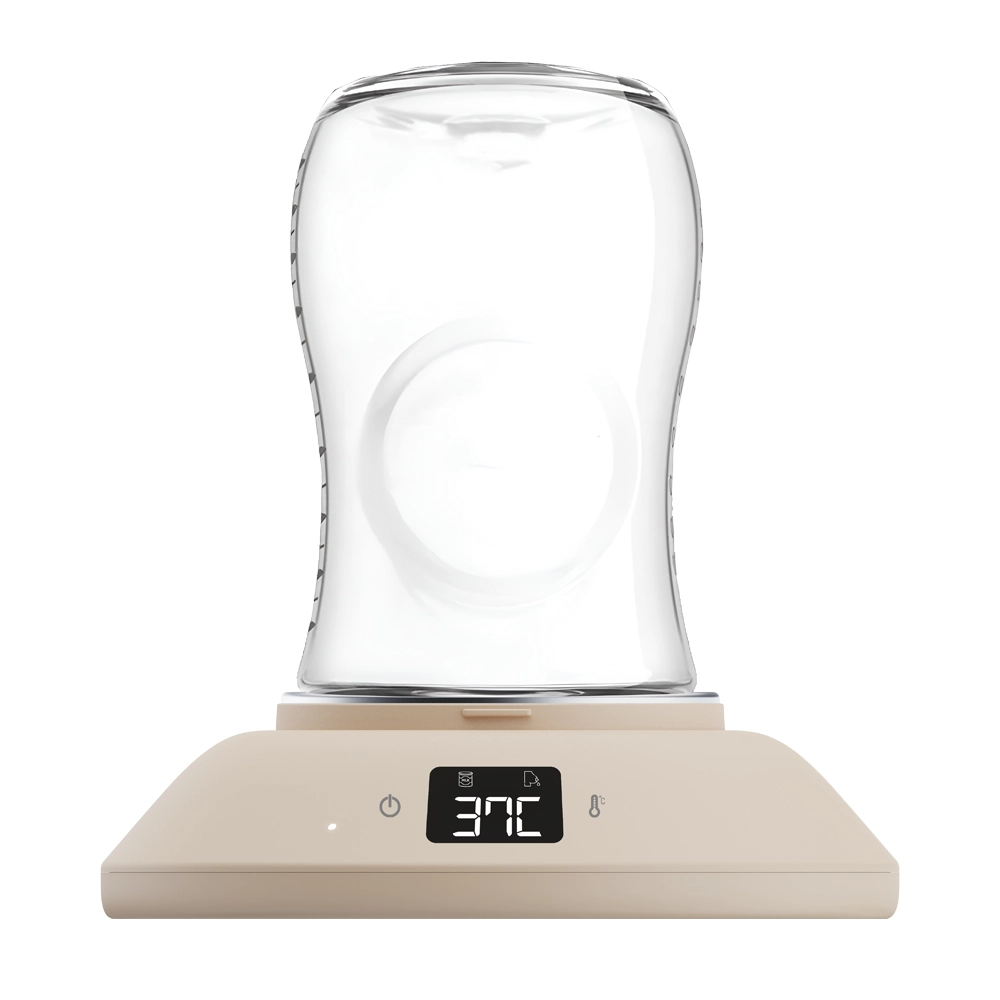 Home 230Vfor home
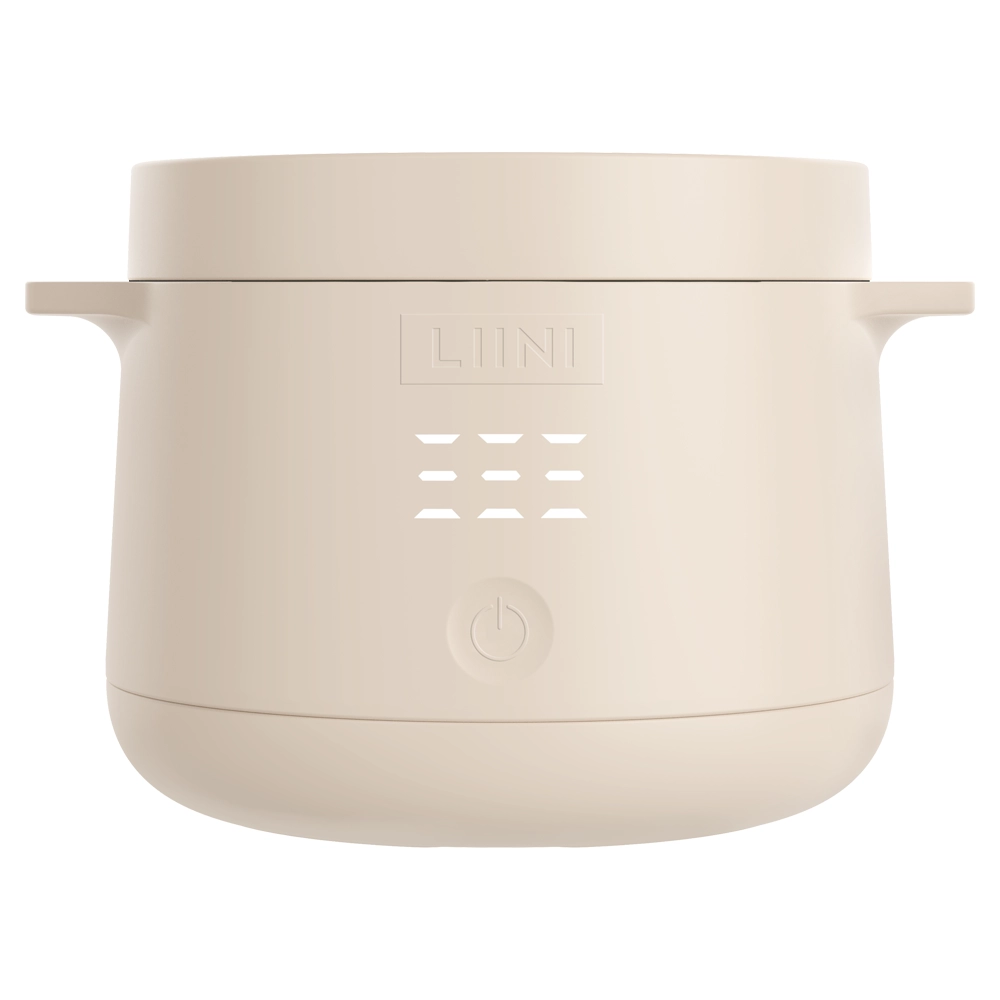 Baby food warmersfrom 6 months
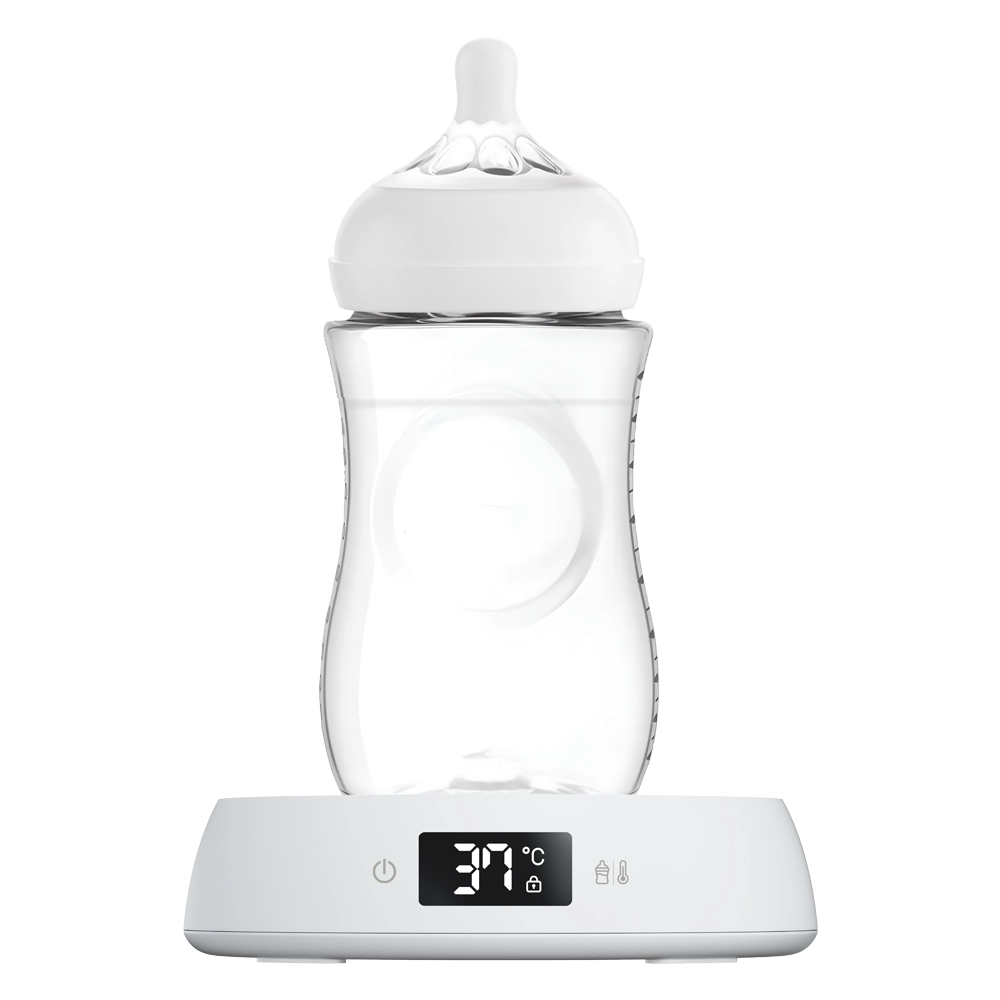 Night Stationfor the night







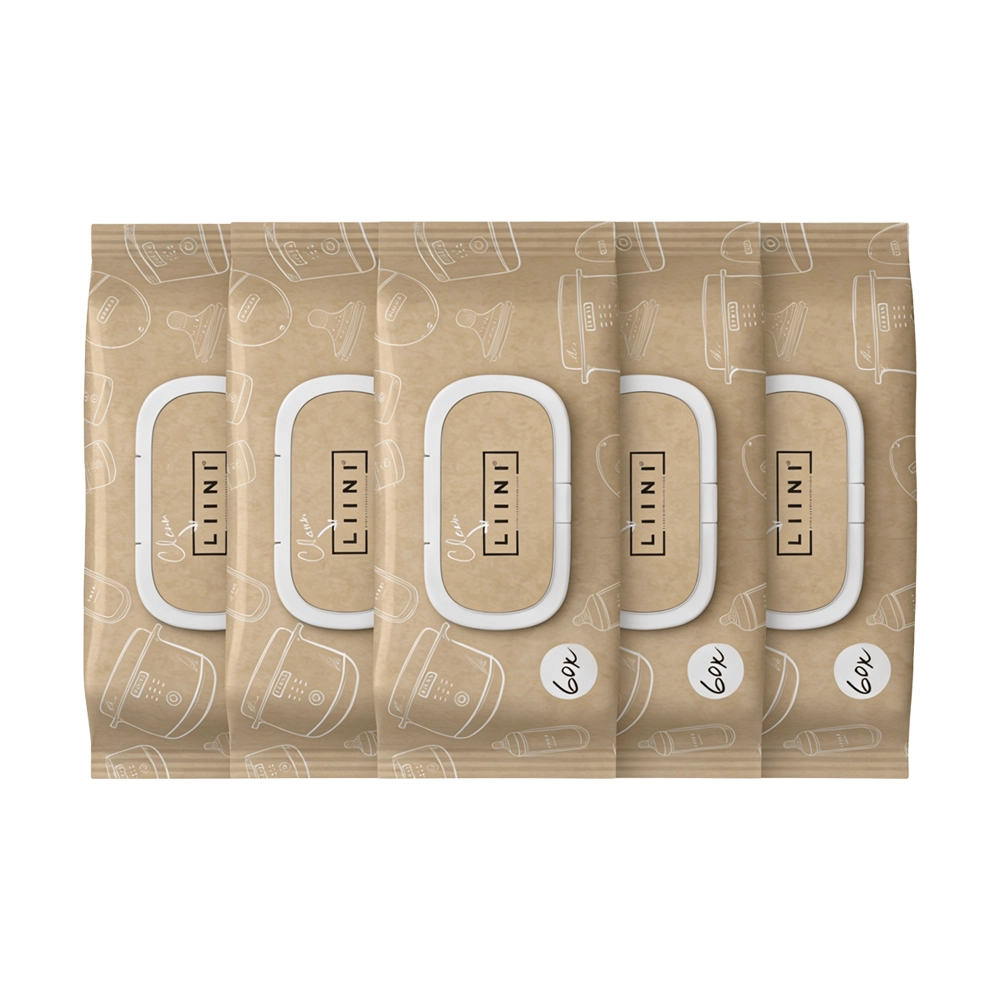 Cleaning Wipes Monthly Pack
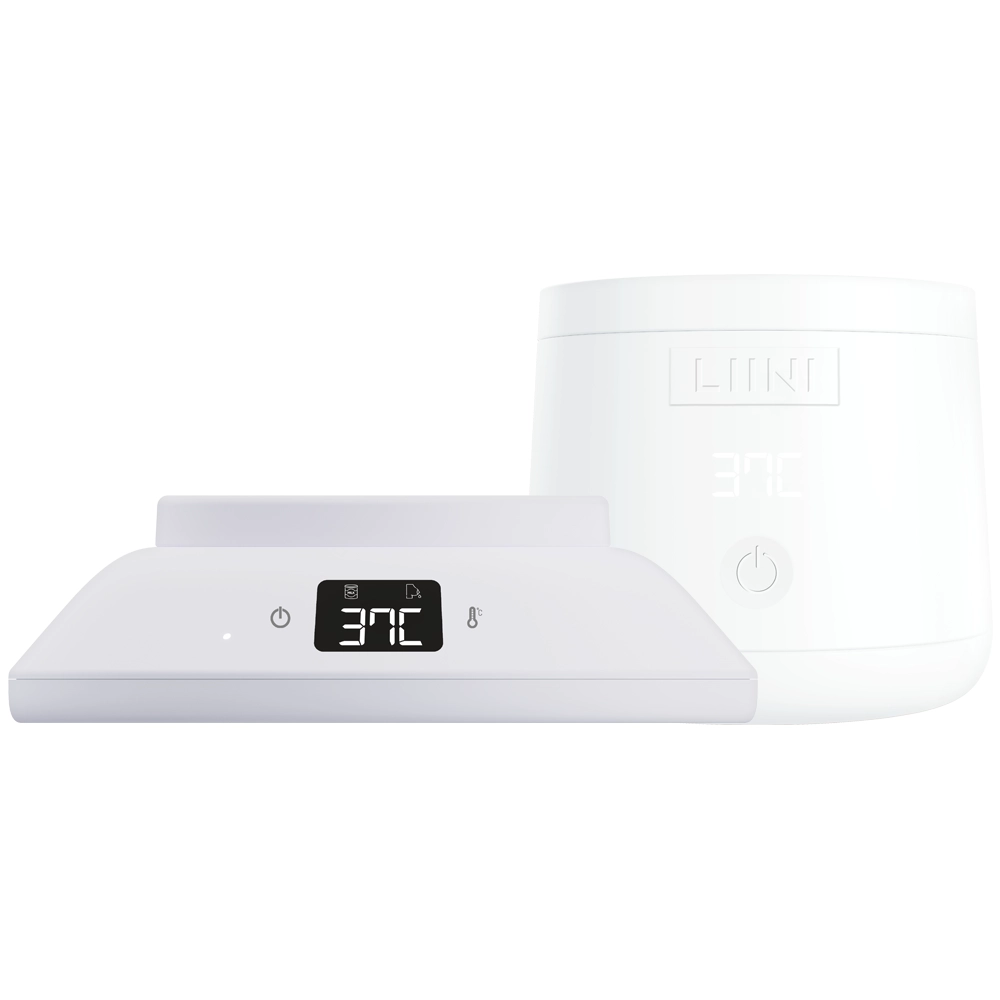 Home & 2Go Bundle
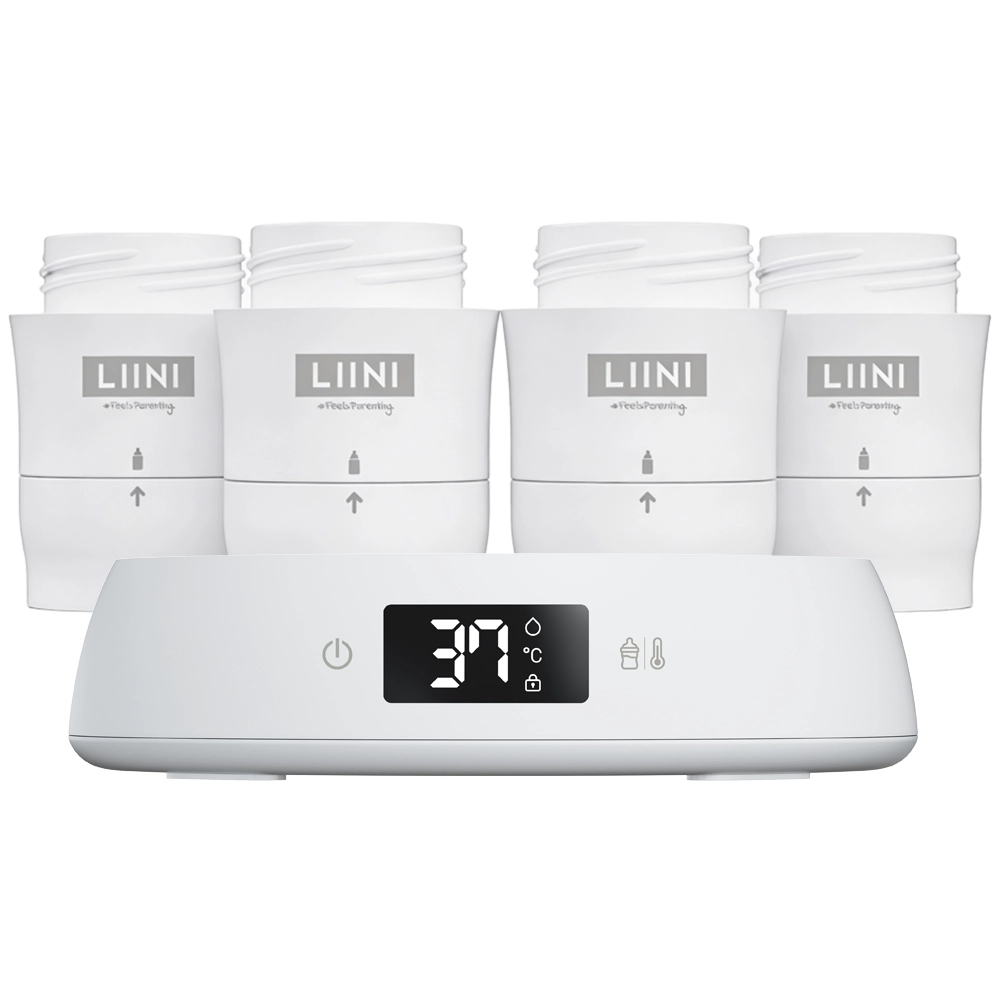 Formula Dispenser Avent
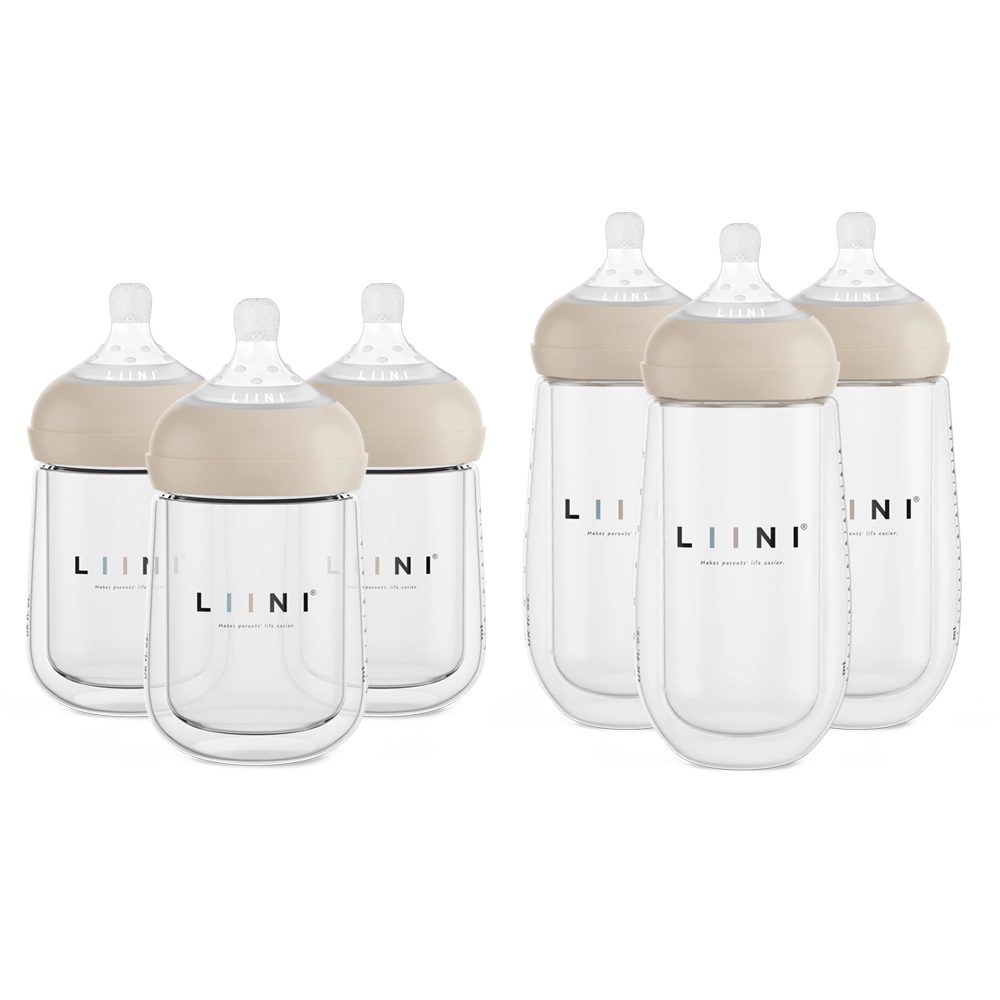 Baby Bottle Bundle
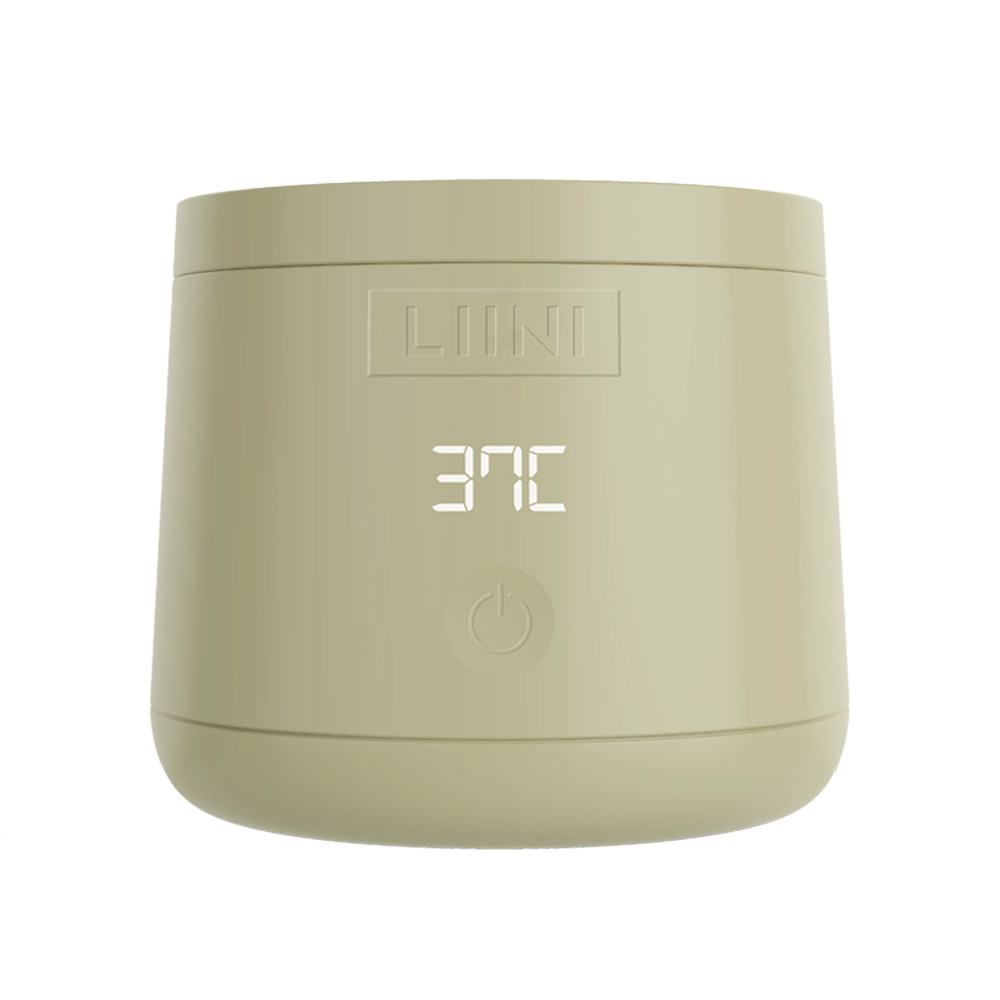
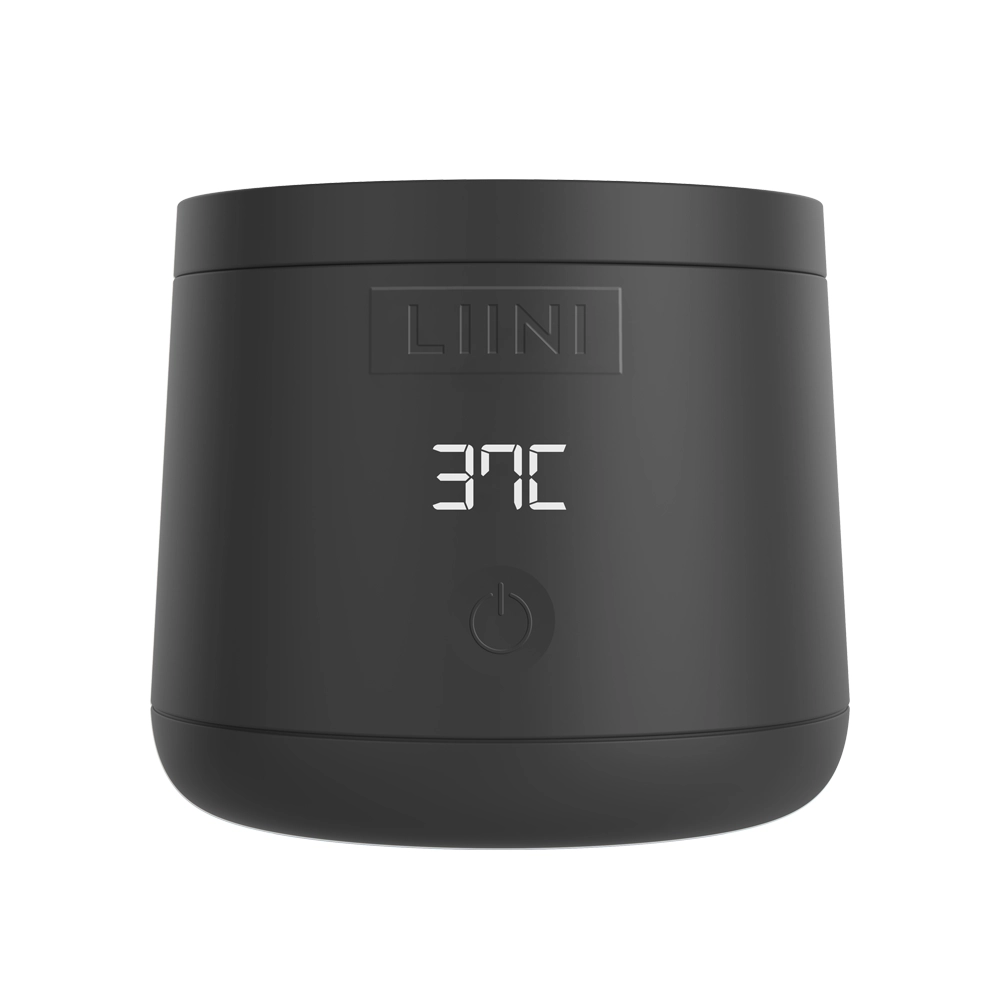
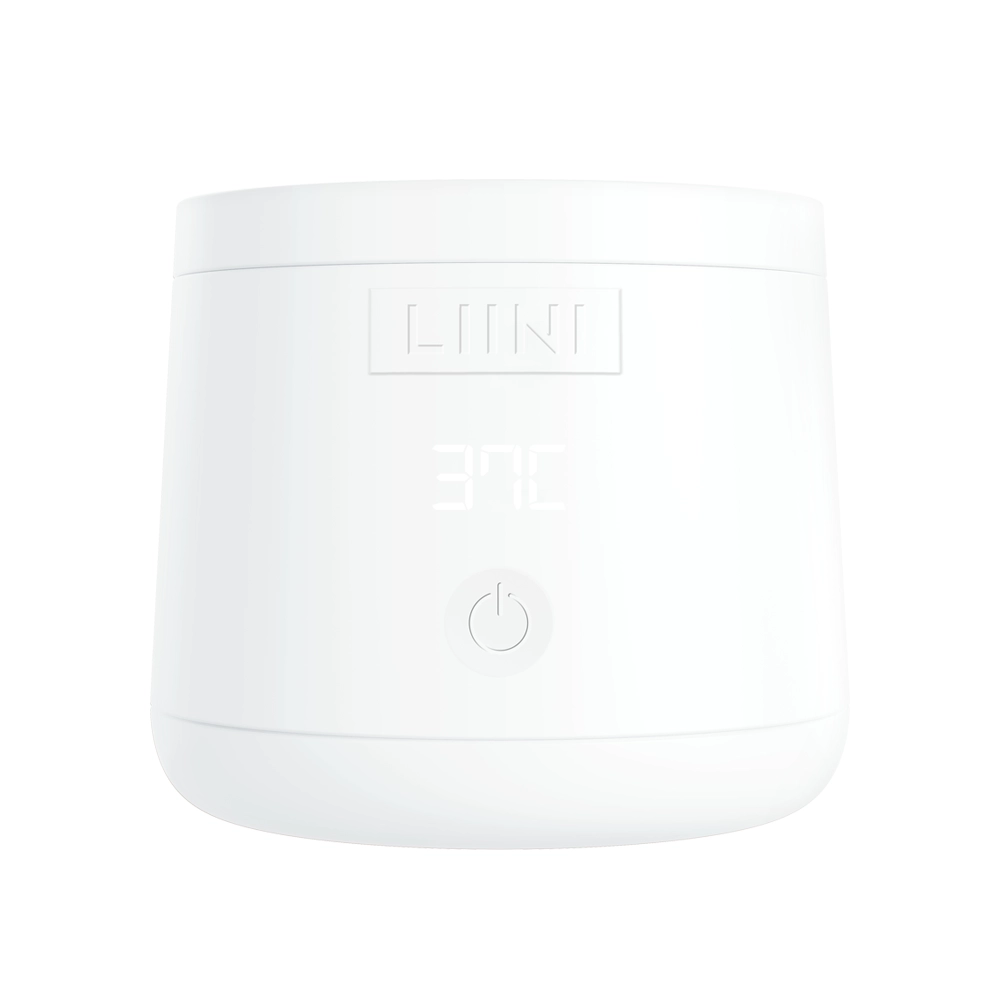


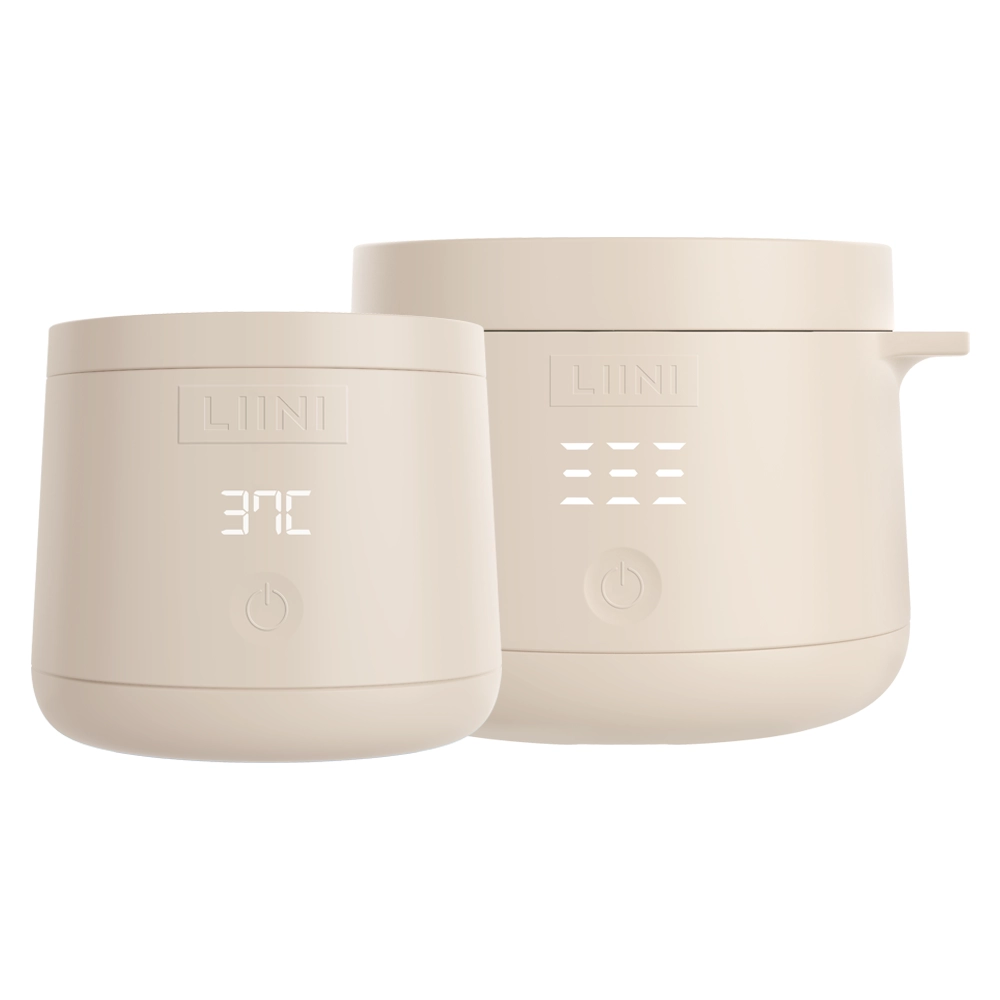
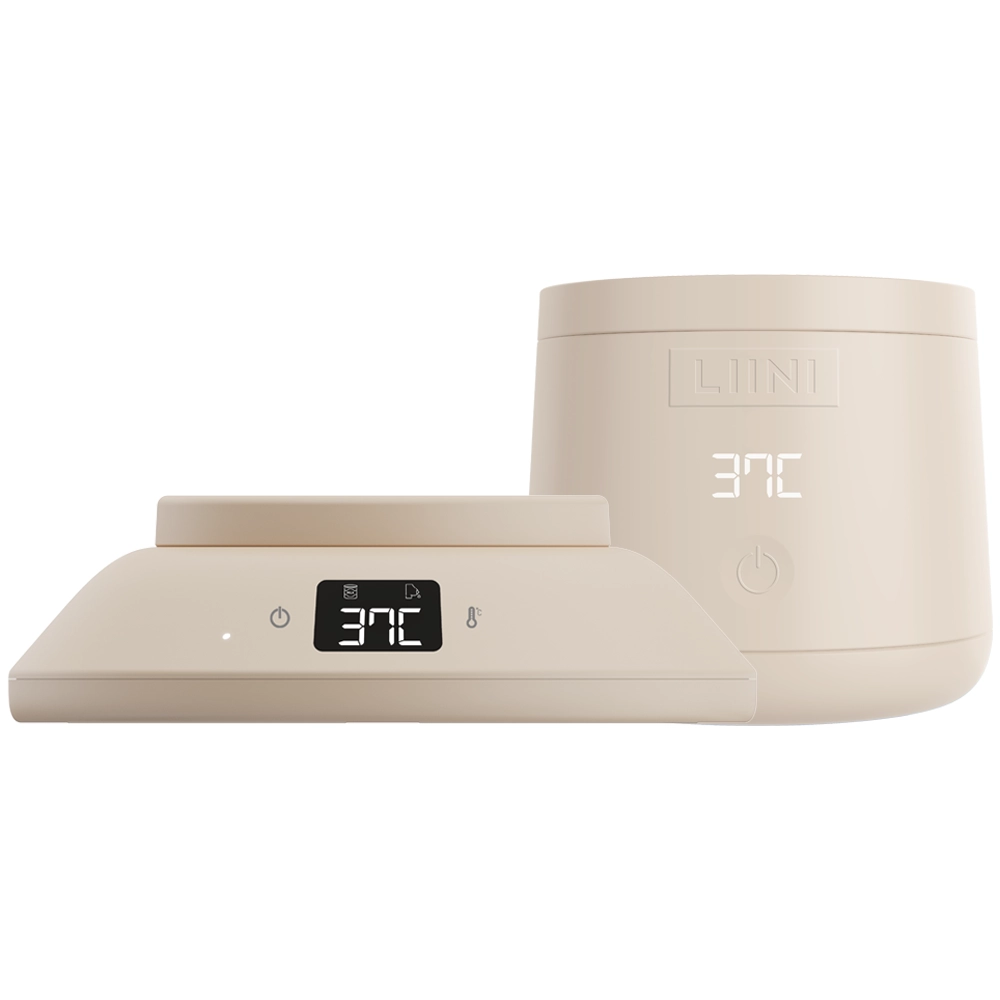
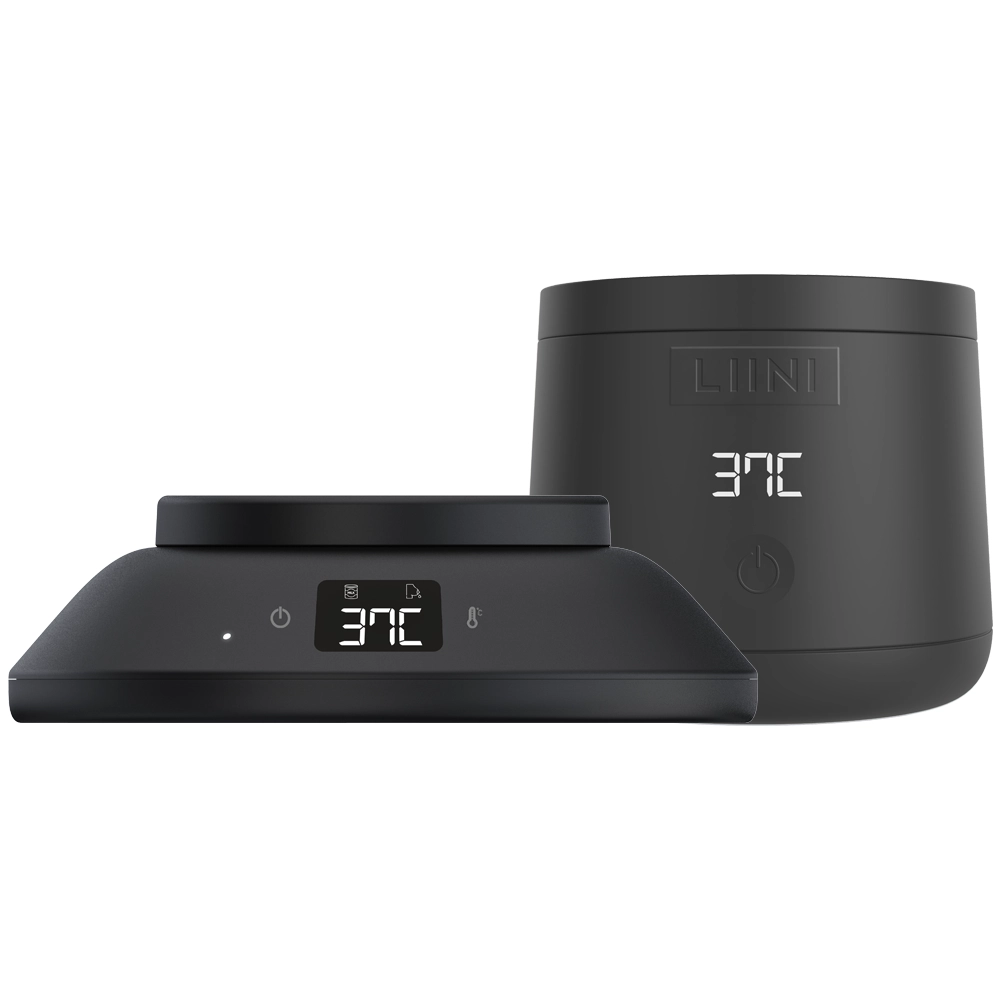
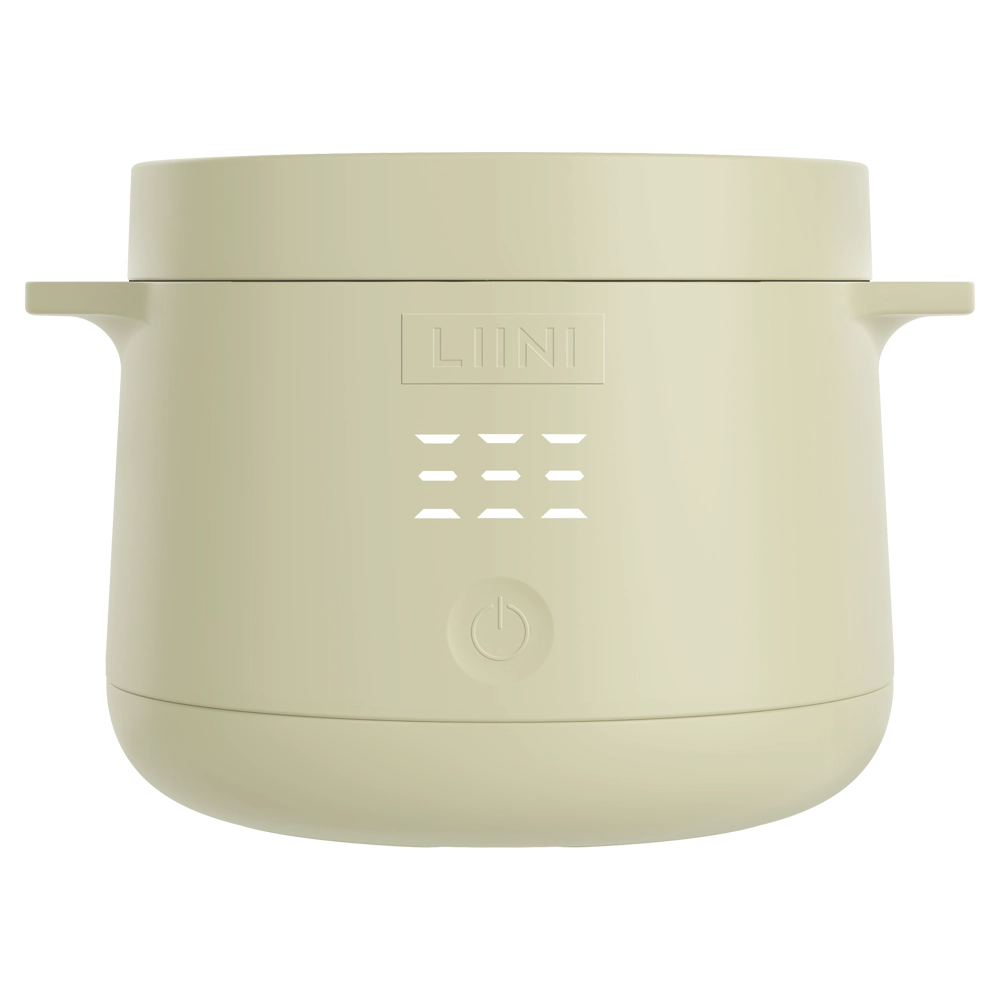
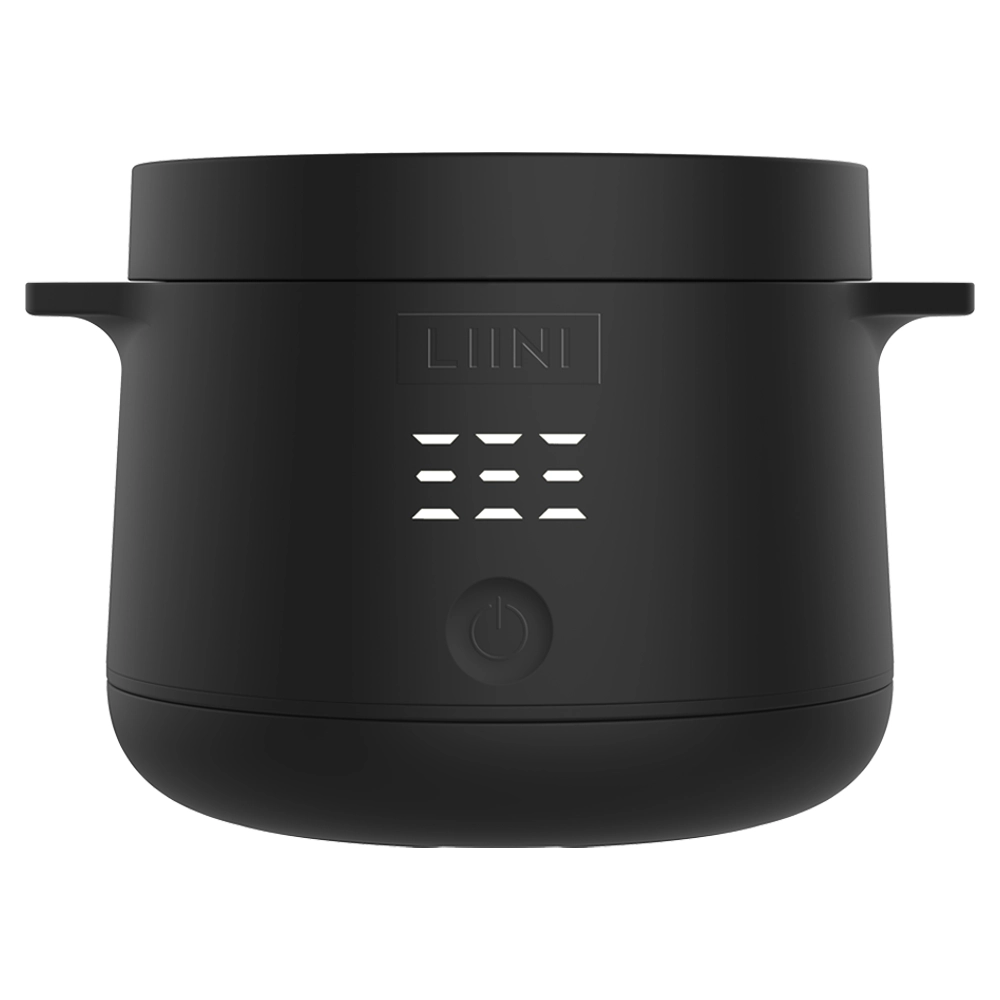
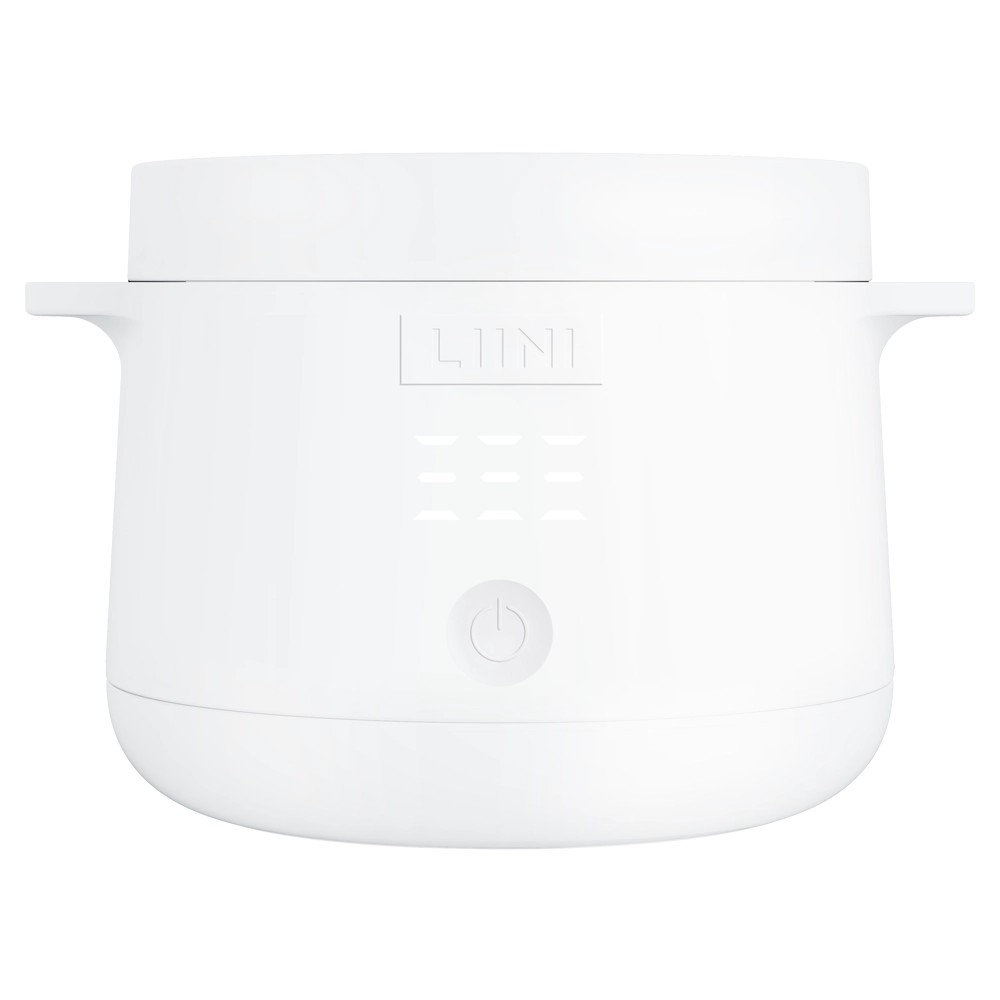















LIINI® POS Display: Assembly Instructions
From the box to a fully stocked display in ten steps. Click through them, with an animation for every move.
Before you start
The display is assembled lying flat and only stood upright at the end. You need enough free floor space: the box measures 189 × 88 × 18 cm.
Caution
Assemble with two people
Reinforcements, shelves and front panels sit in guides in both side panels. One person holds the parts in place while the other fits the second side panel.
| People | 2 |
|---|---|
| Tools | Cordless screwdriver or screwdriver |
| Box | 189 × 88 × 18 cm, approx. 19 kg |
| Opening | Do not open with a knife or scissors, handle with care, keep dry |
What’s in the box
The box contains two foam layers. The back panel is in the first, all other parts are in the second.
A · Back panel
1×With LIINI header.
B · Side panels
2×Left and right, with guides and eleven screw holes each.
C · Middle shelves
3×Sit in the guides of the side panels.
D · Front panels
4×Labelled, one per row.
E · Metal reinforcements
3×Also sit in the guides.
F · Bag of screws
1×All screws for assembly.
Assembly step by step
Step 1: Unpack and check
Lay the box flat on the floor and open it. Lay out all parts and check them against the list of contents.
Note
Open without a knife
This keeps the printed parts undamaged.
Step 2: Lay down the back panel
Lay the back panel (A) flat on the floor, inside facing up.
Step 3: Screw on the first side panel
Place one side panel (B) against the back panel and screw it on from the outside.
Step 4: Insert the metal reinforcements
Slide the three metal reinforcements (E) into the guides of the fitted side panel.
Step 5: Insert the middle shelves
Slide the three middle shelves (C) into the guides.
Note
Do not screw yet
Shelves and front panels are only screwed on once the second side panel is in place.
Step 6: Insert the front panels
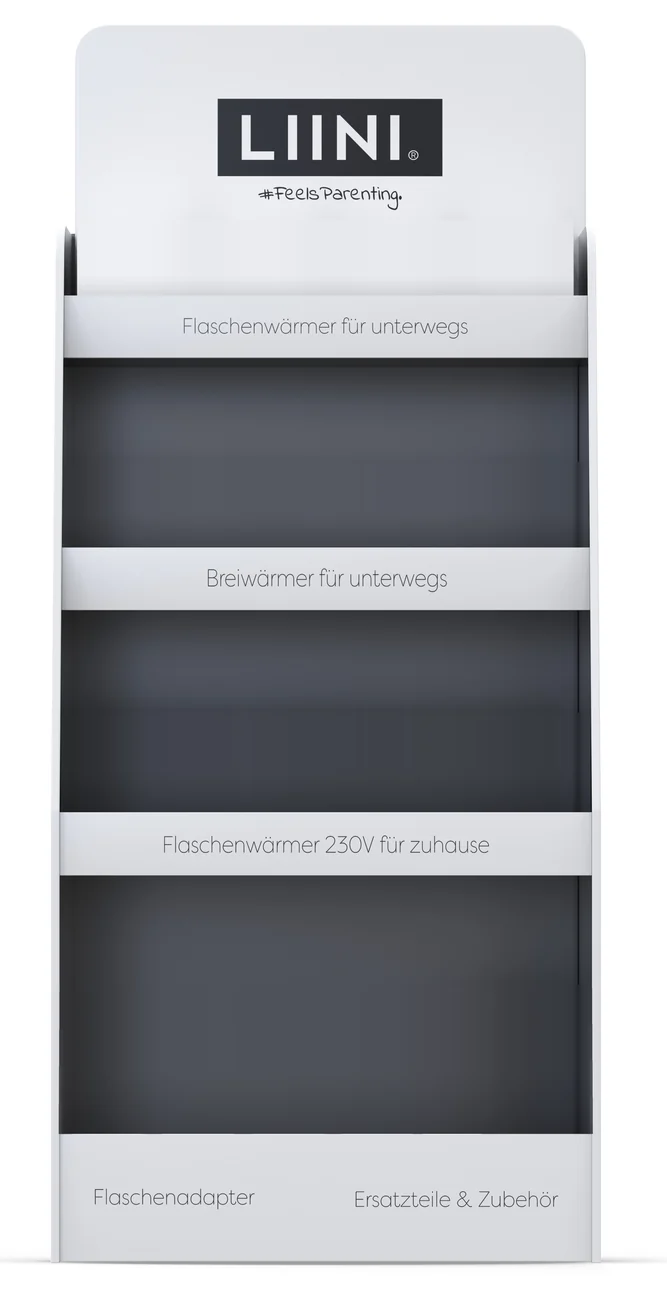
Place the front panels (D) at the front of the rows. From top to bottom: «Flaschenwärmer für unterwegs», «Breiwärmer für unterwegs», «Flaschenwärmer 230V für zuhause», «Flaschenadapter» and «Ersatzteile & Zubehör».
Note
Hold from now on
One person holds all parts in position.
Step 7: Fit the second side panel
The second person fits the second side panel (B). Reinforcements and shelves must sit in the guides.
Step 8: Screw everything together
Only now screw from the outside. Each side panel has eleven holes: six along the back panel and five at the front by the front panels.
Caution
Keep to the order
Once both side panels are fixed, nothing more can be inserted.
Step 9: Stand it up
Stand the display upright with two people, move it to its location and retighten all screws.
Step 10: Stock it
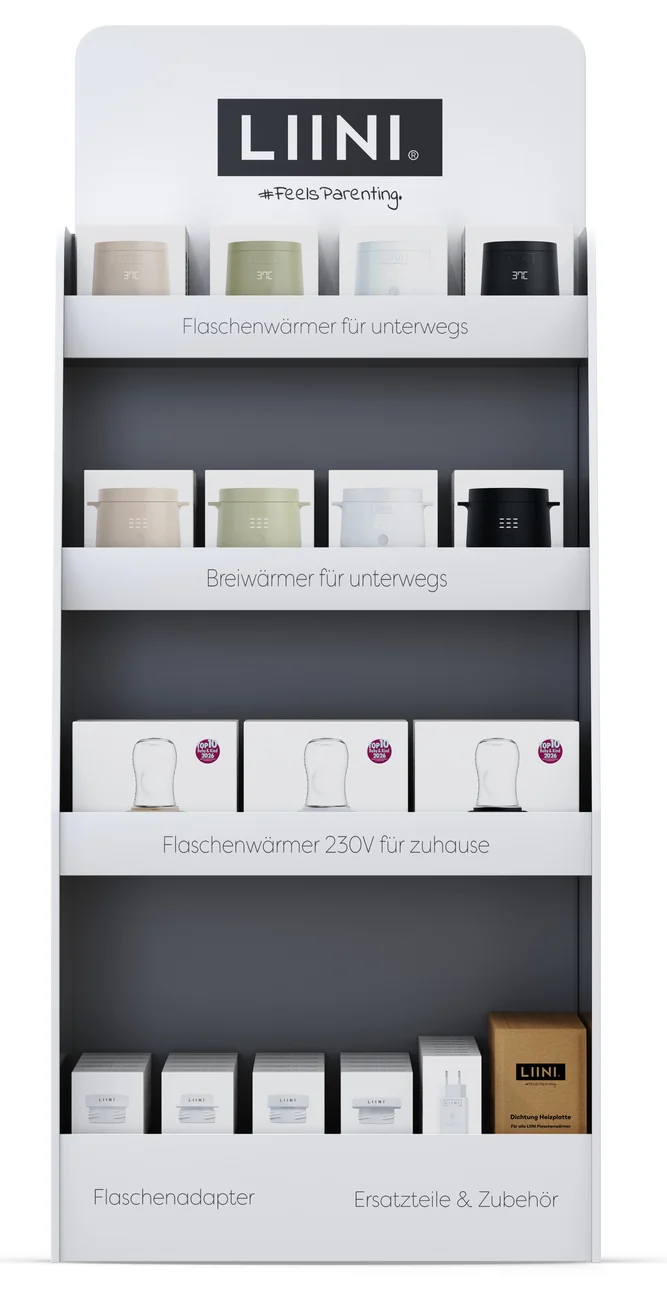
Fill from top to bottom. Each variant stands twice, one behind the other. The cut-outs in the black inserts show where each pack goes.
Stocking plan
The initial stock comprises 70 products. Each variant stands twice, one behind the other.
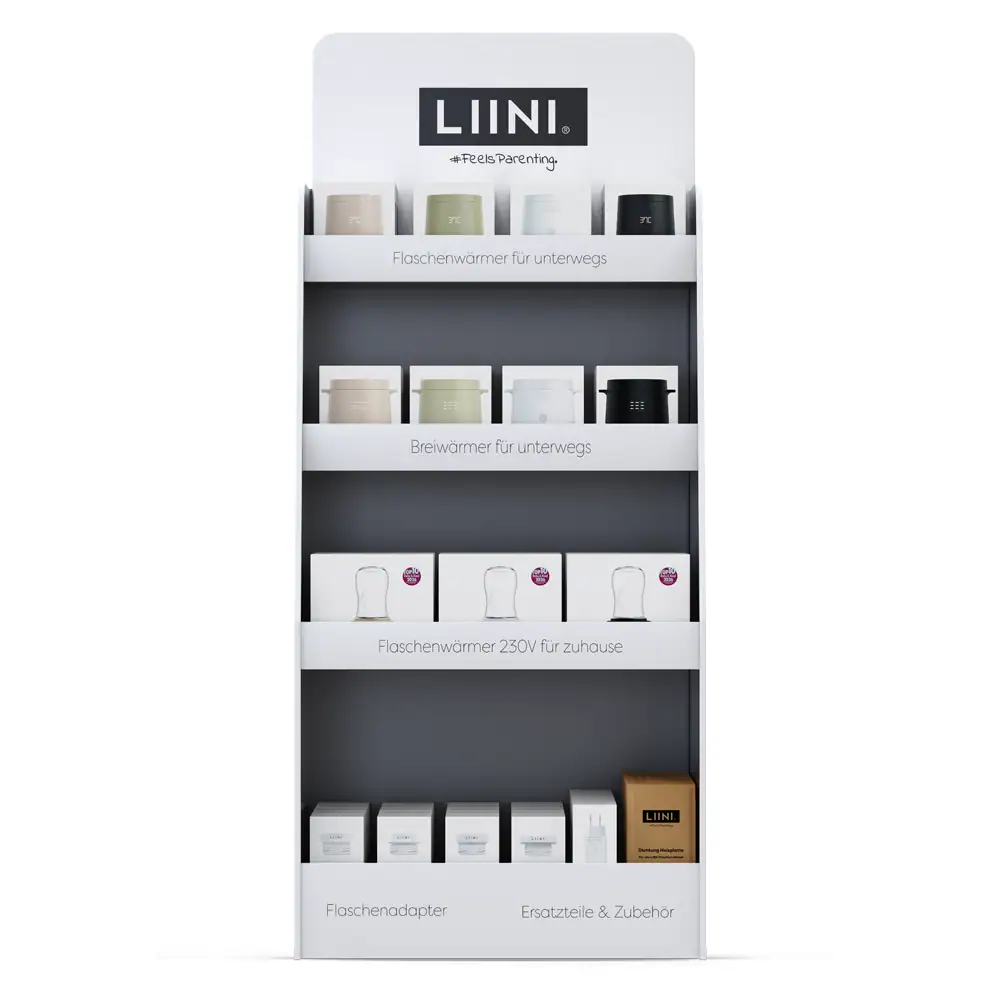
| Row 1: bottle warmers for on the go | 8 units: LIINI® 4.0 PRO in beige, olive, white and black, 2 each |
|---|---|
| Row 2: porridge warmers for on the go | 8 units: LIINI® 2.0 PRO in beige, olive, white and black, 2 each |
| Row 3: 230 V bottle warmers for home | 6 units: LIINI® Home in beige, white and black, 2 each |
| Row 4 left: bottle adapters | 20 units: 4 types, 5 each (babylove | MAM | Lansinoh | NIP, babylove | BIBS | Medela | NIP, NUK First Choice, NUK Perfect Match) |
| Row 4 right: spare parts & accessories | 28 units: 8 USB-C quick-charge adapters 45 W, 20 seals for bottle warmers |
Need help?
Create a ticket with the product name and your order number.


