
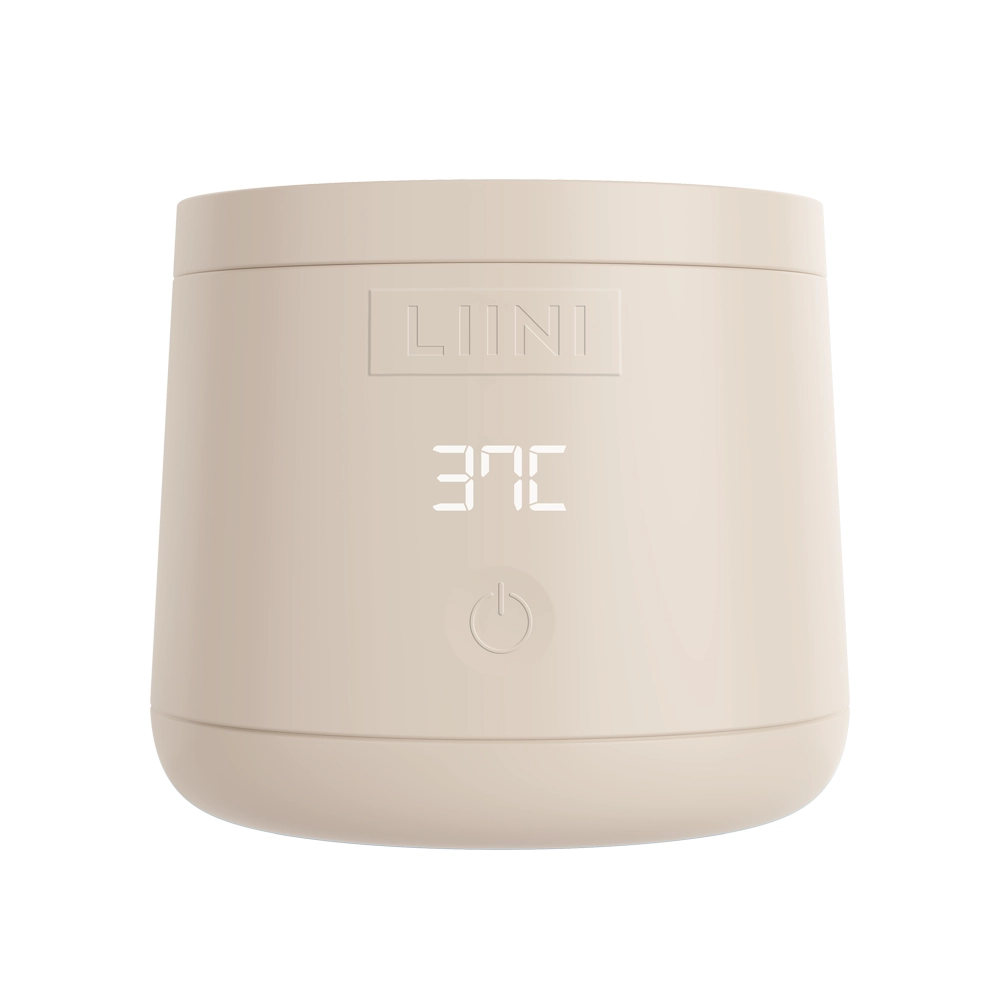
 4.0 PRObattery · on the go
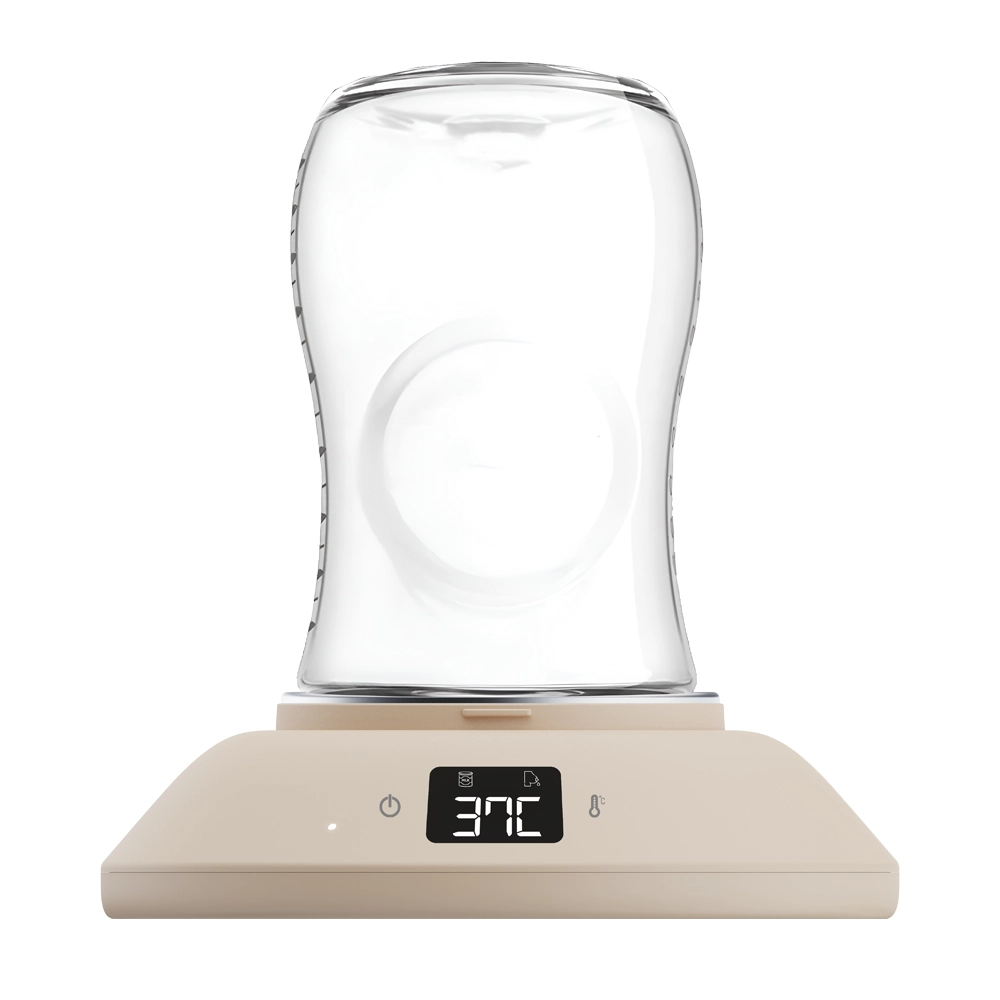 Home 230Vfor home
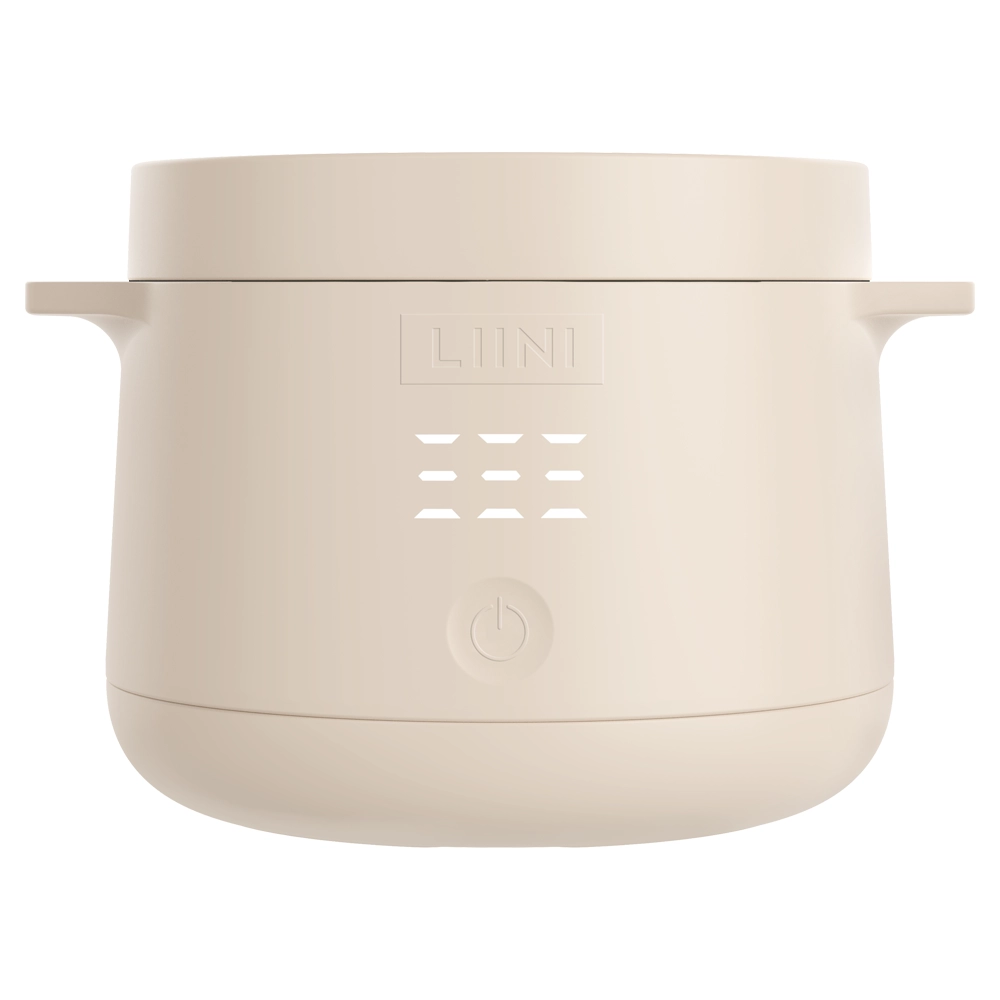 Baby food warmersfrom 6 months
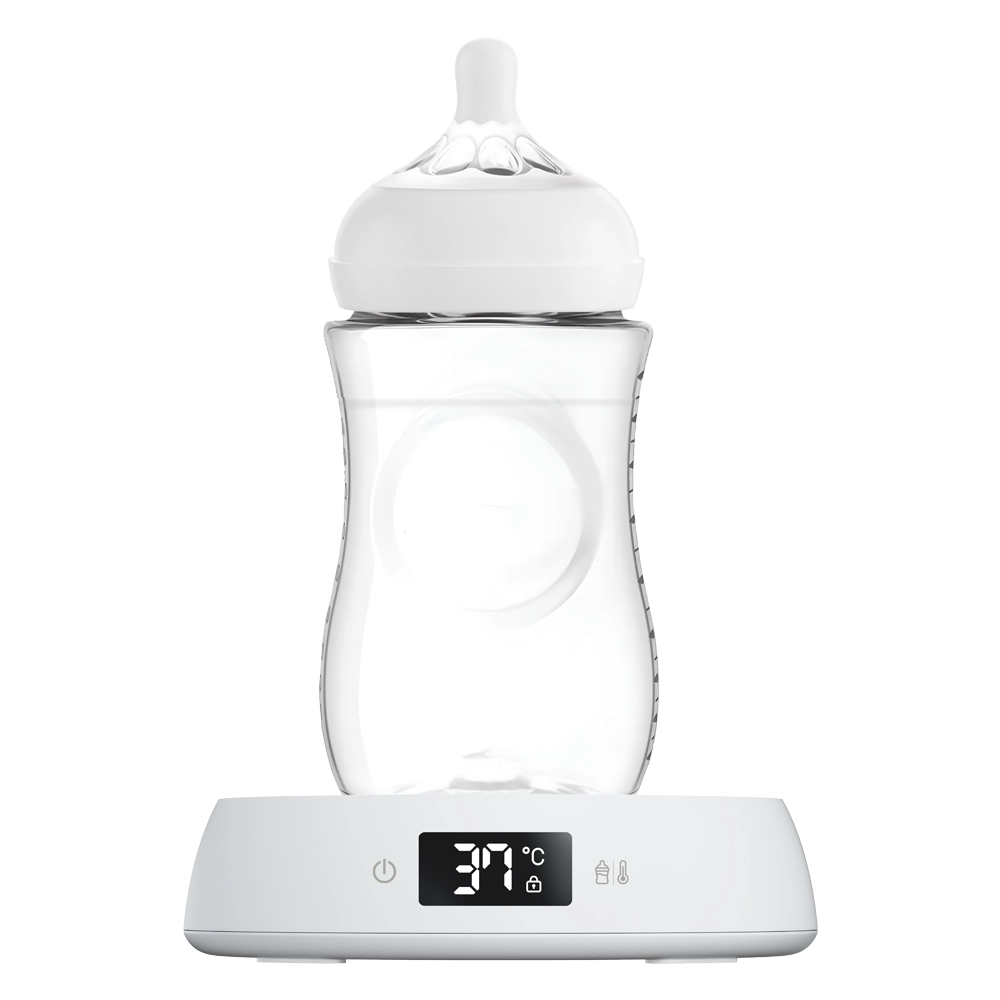 Night Stationfor the night

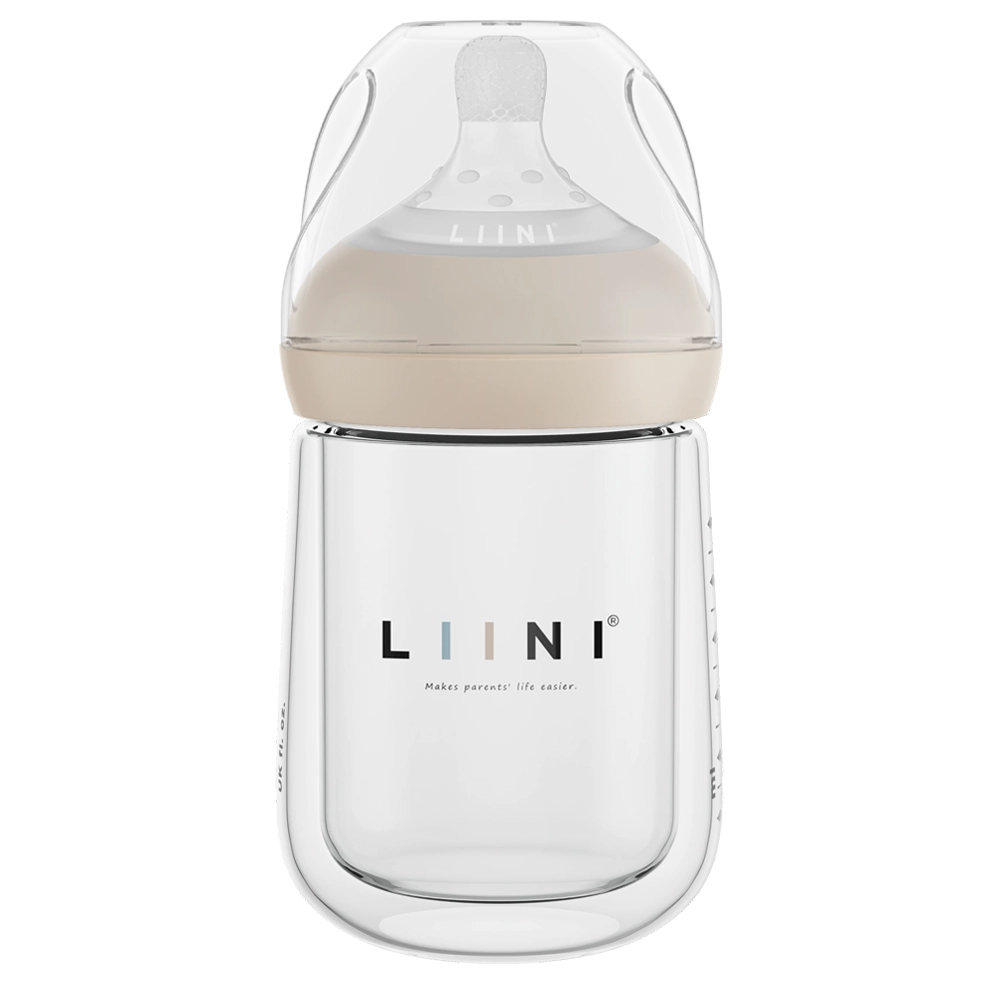
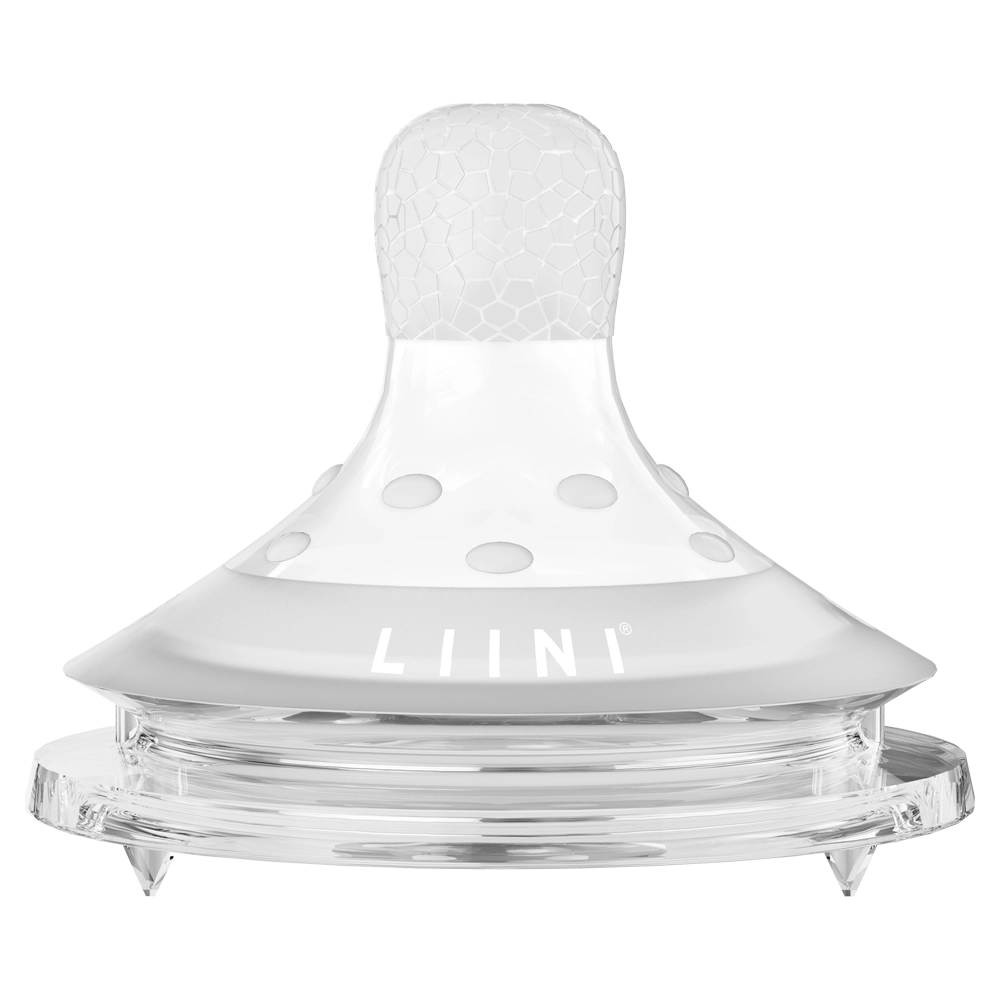

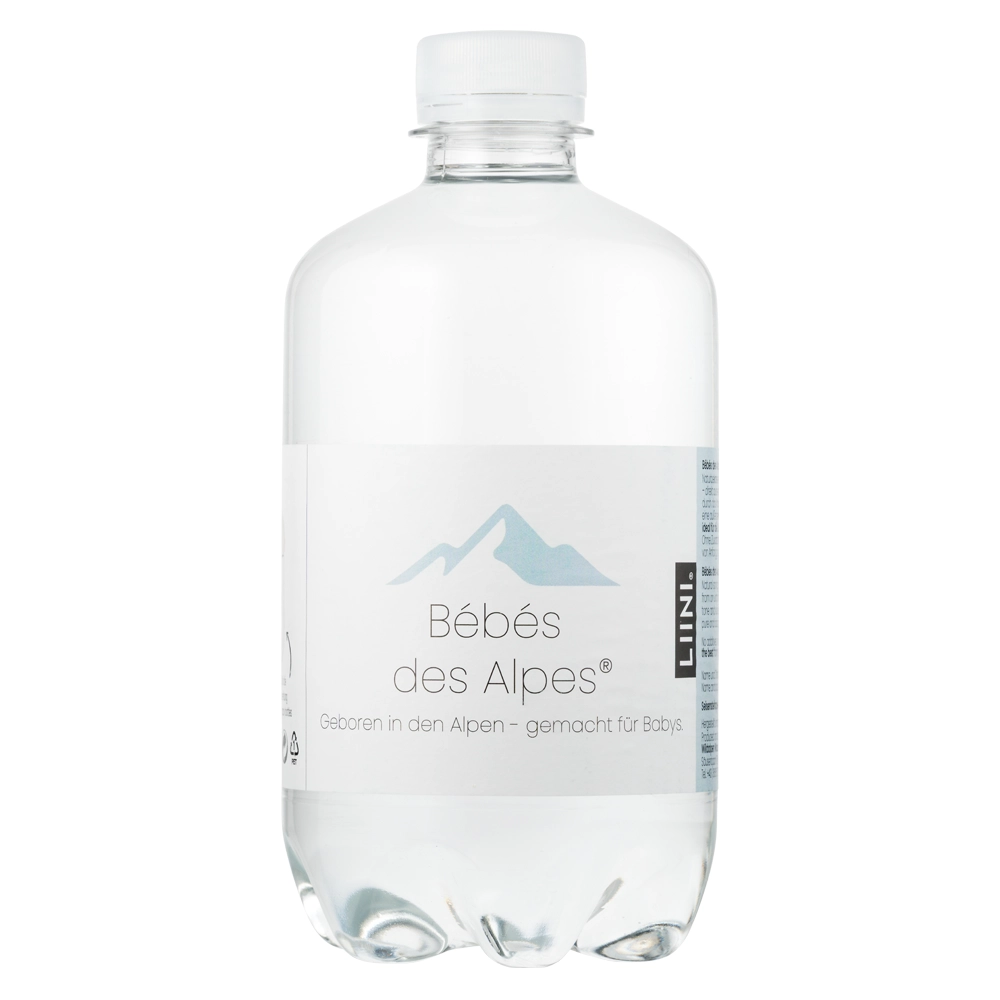
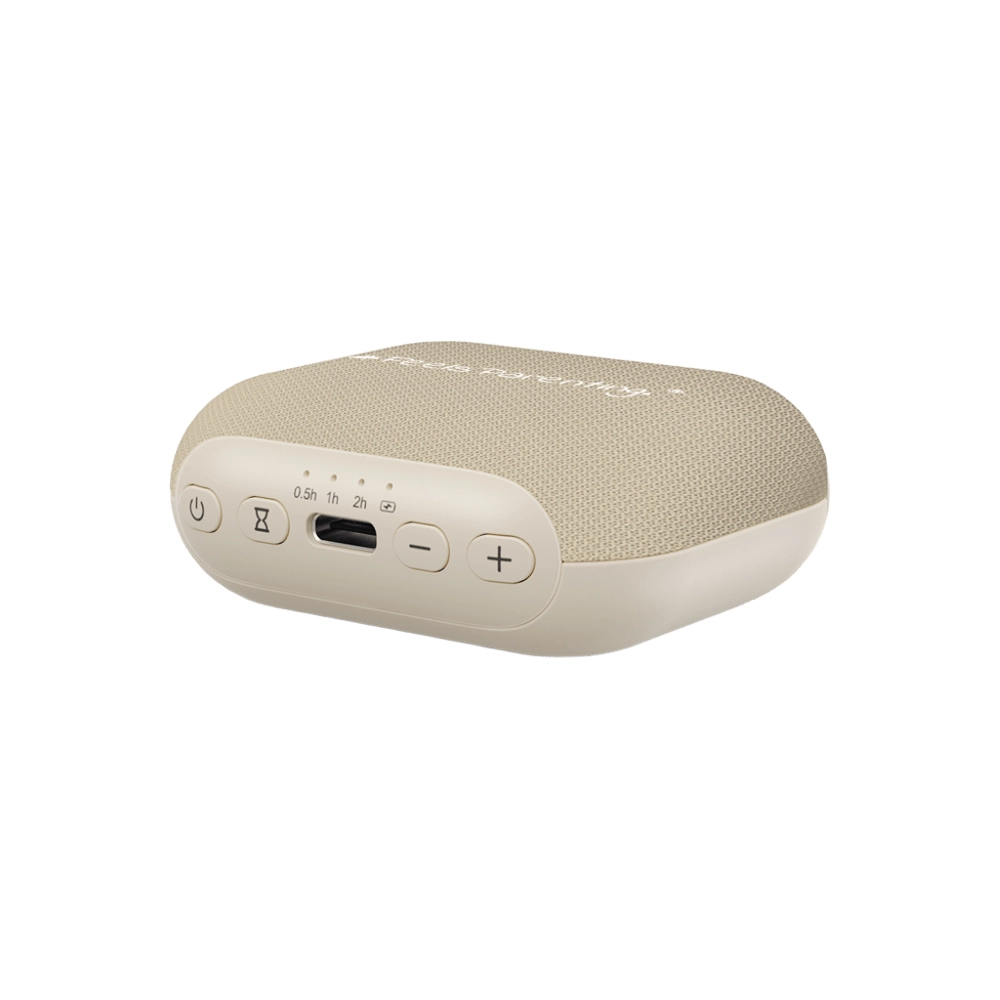



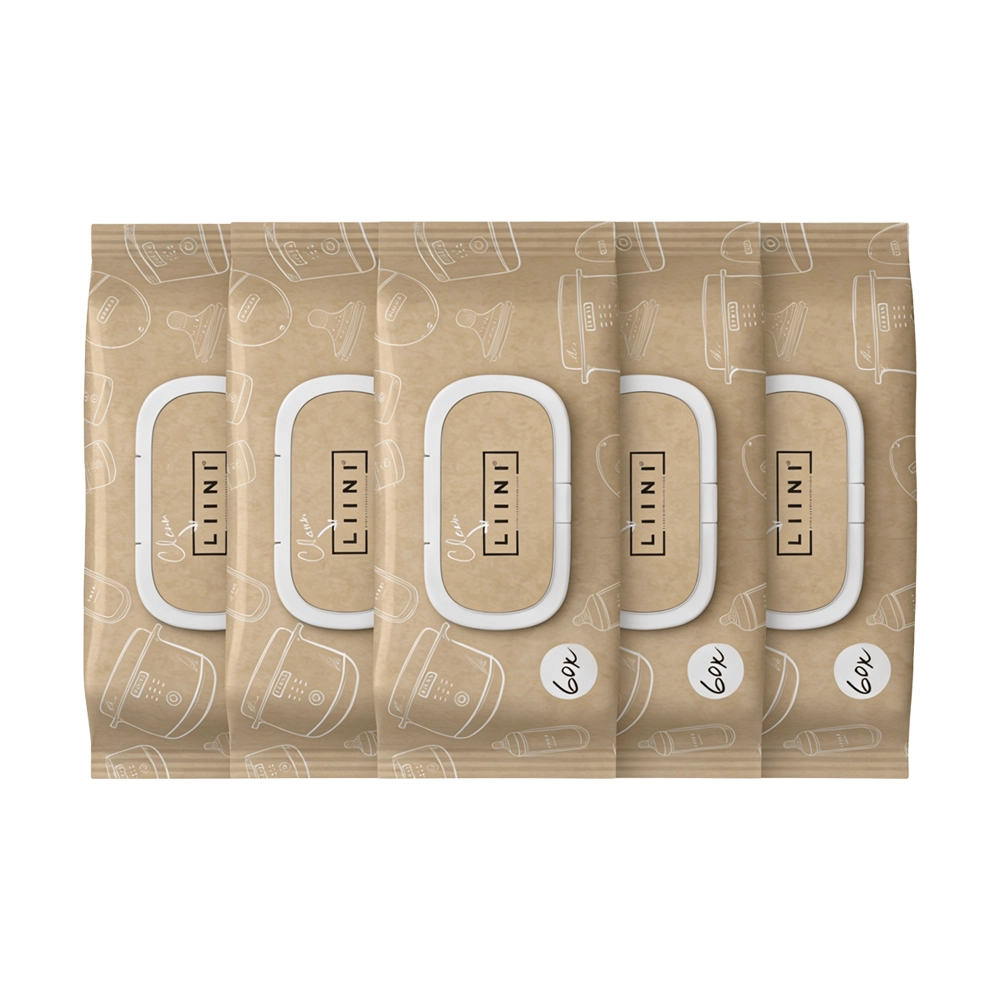 Cleaning Wipes Monthly Pack
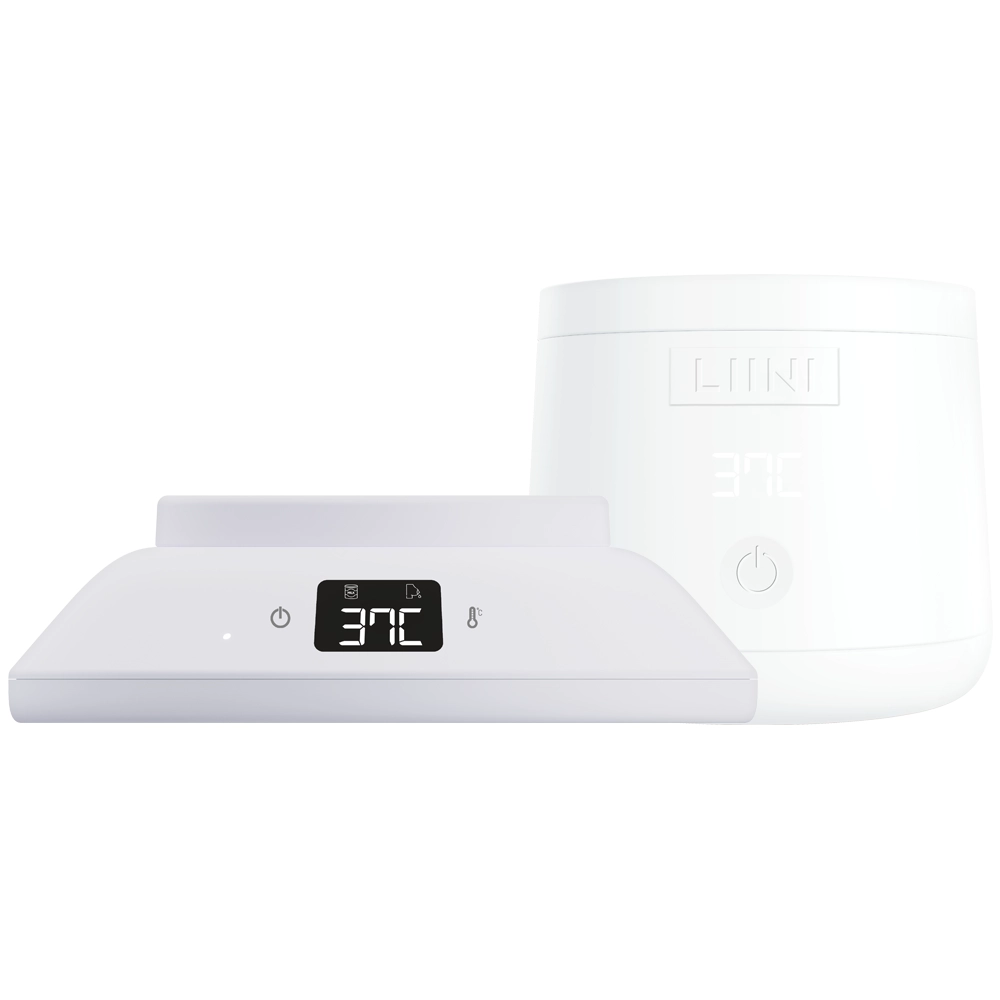 Home & 2Go Bundle
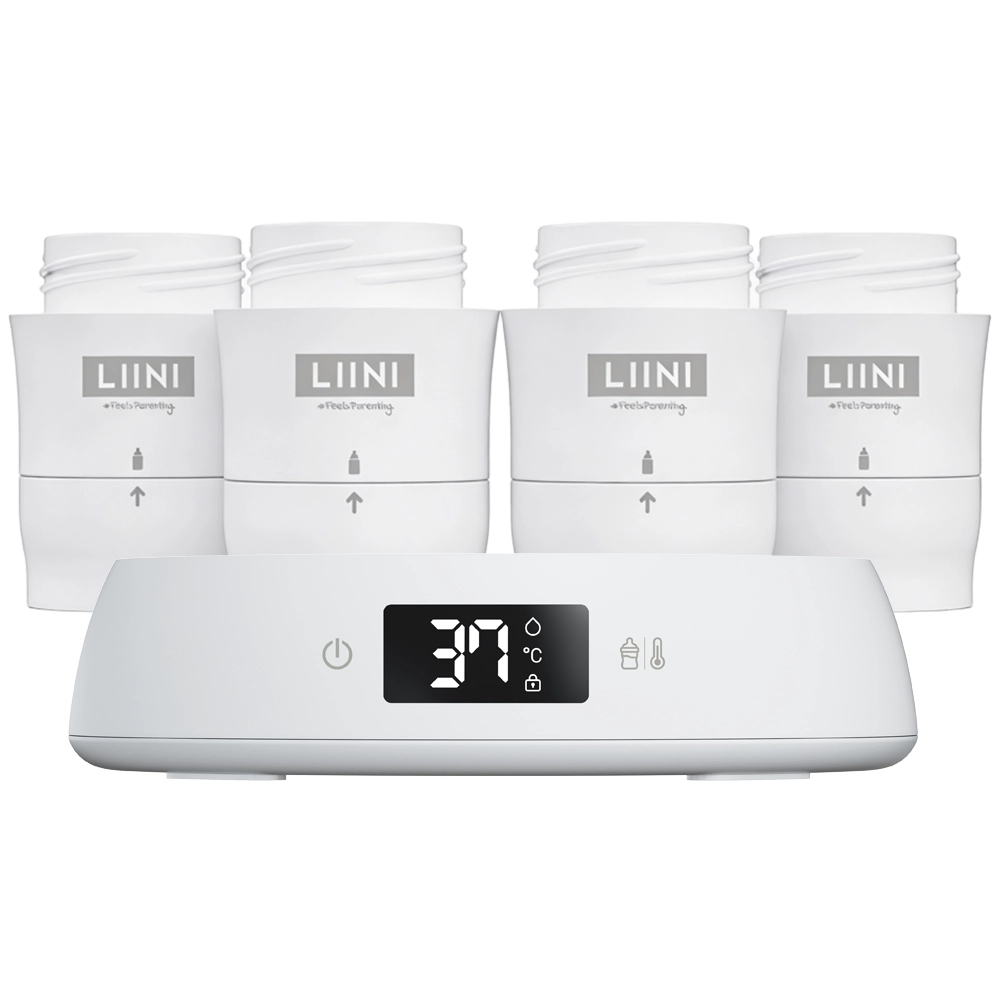 Formula Dispenser Avent
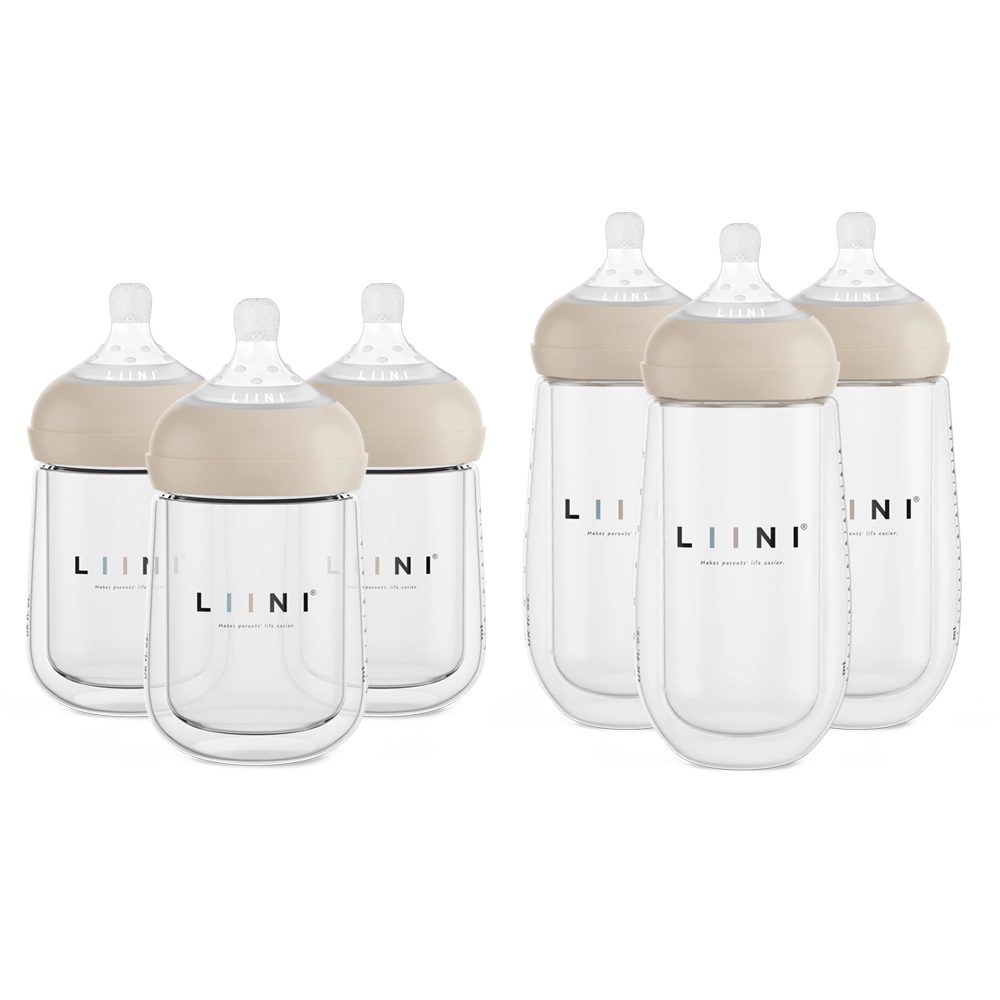 Baby Bottle Bundle
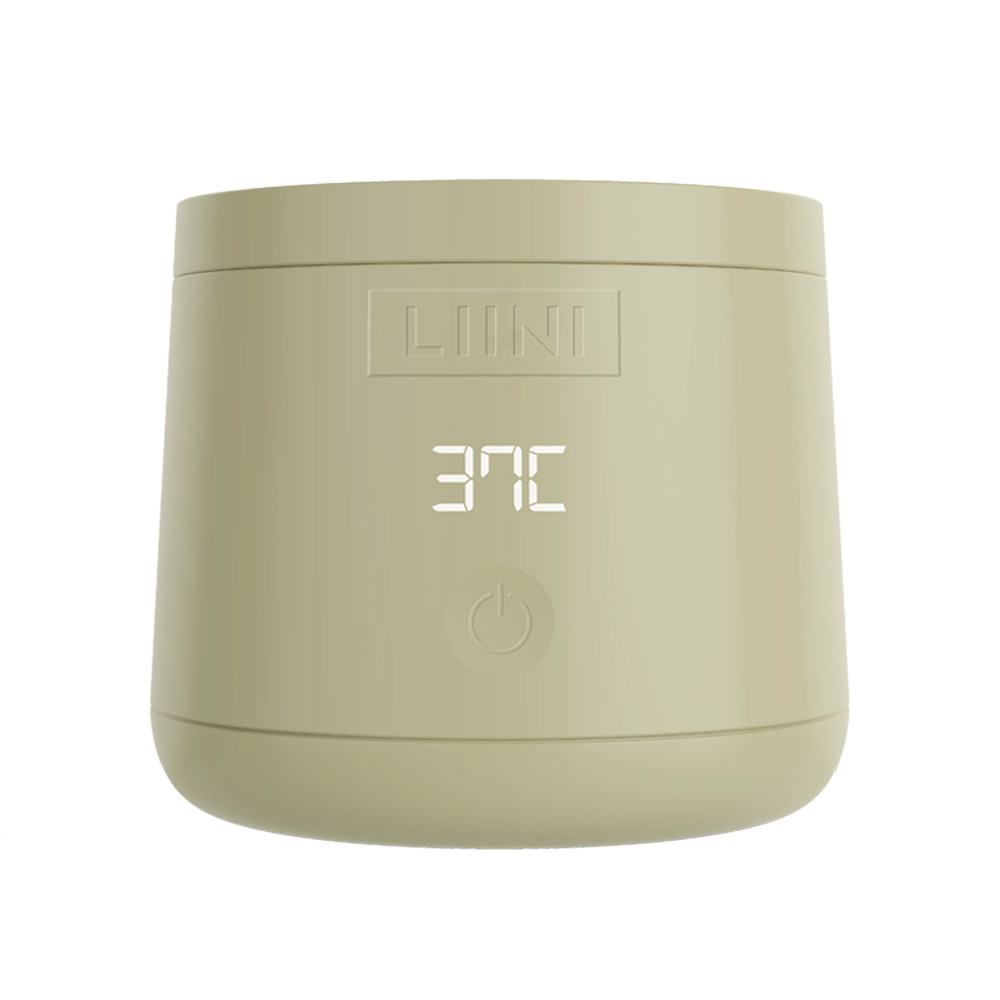


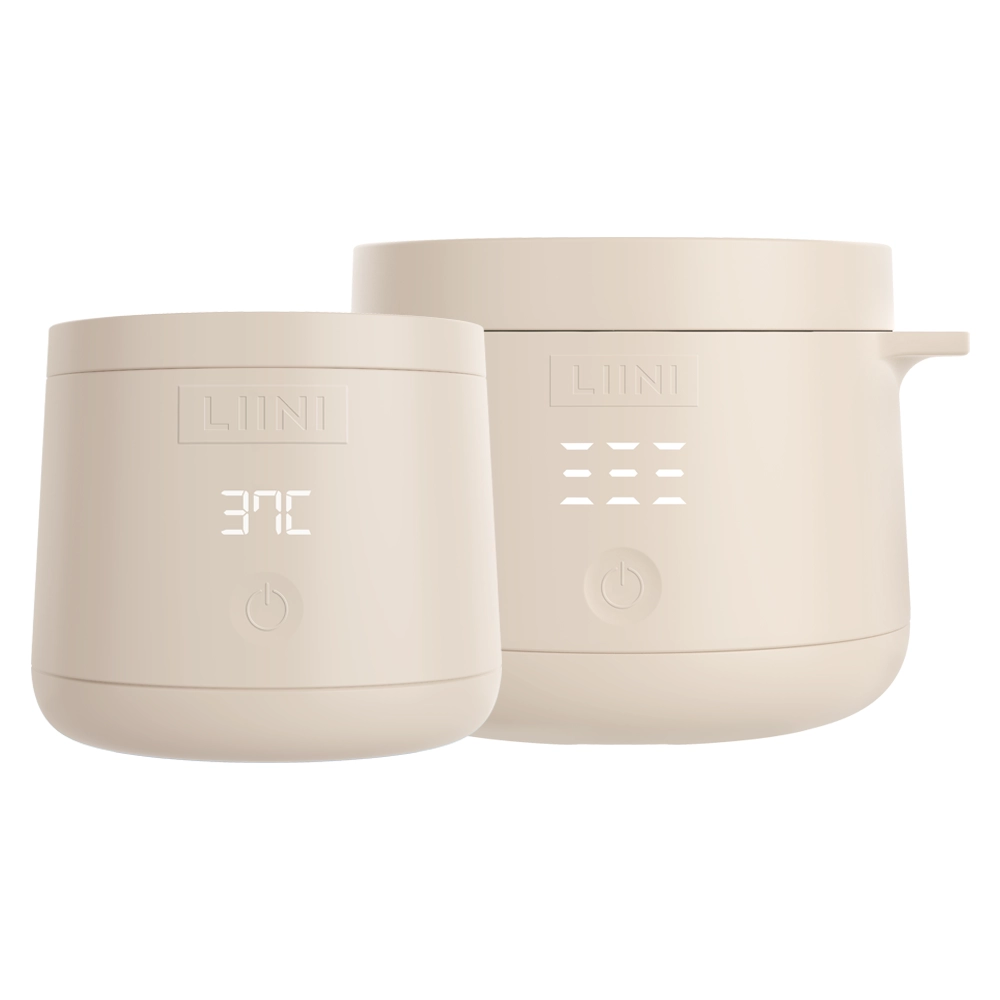
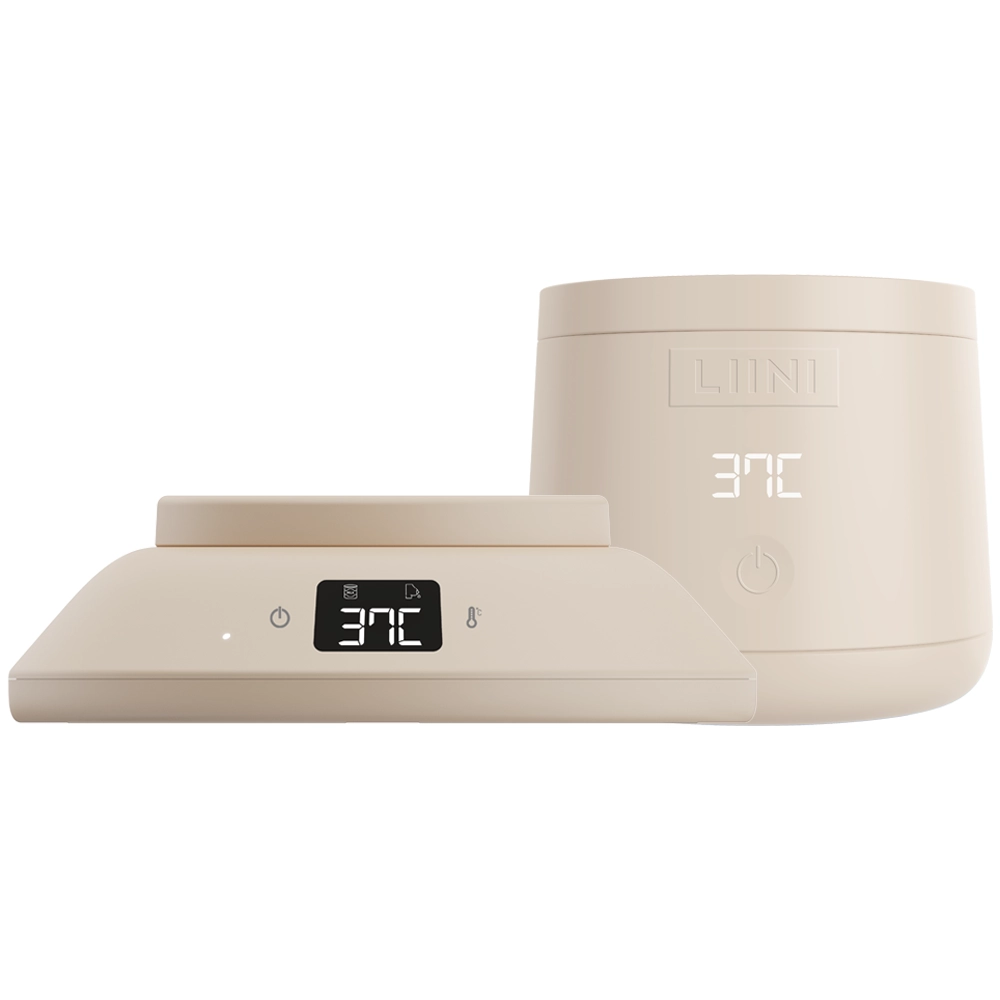
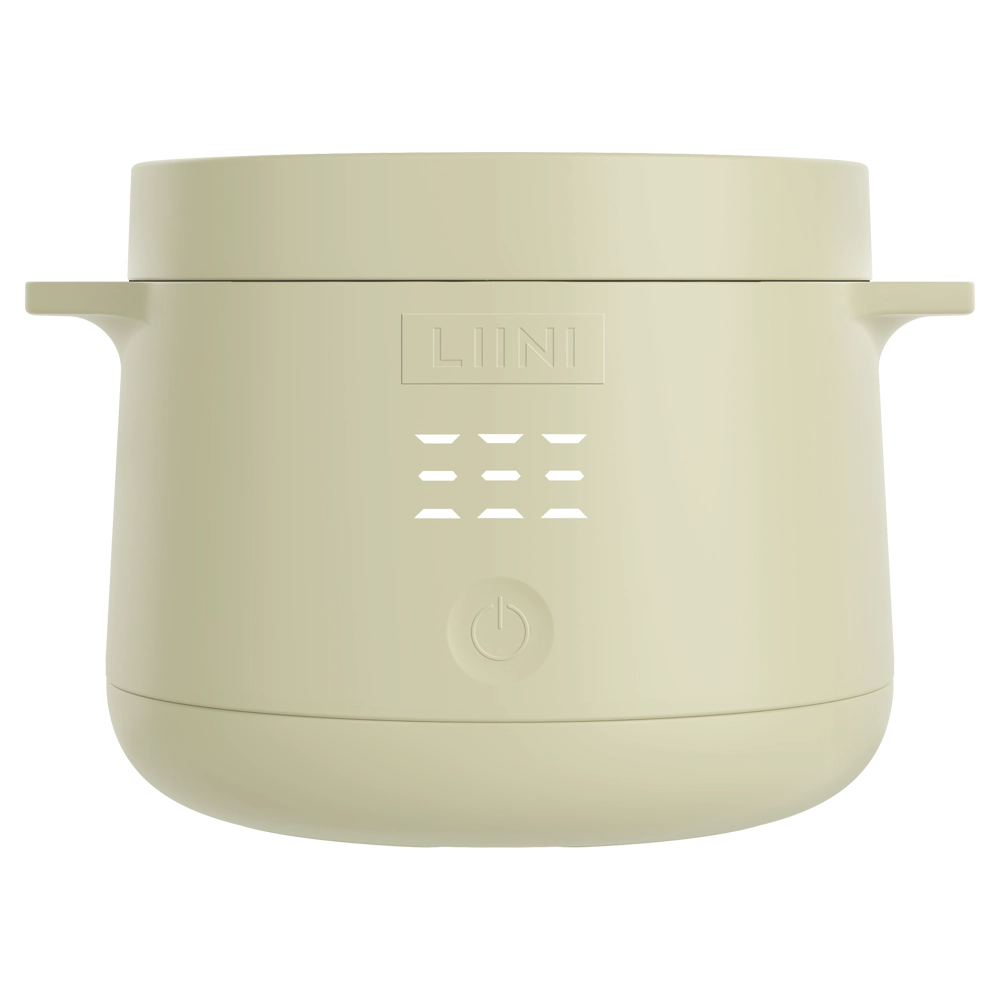









 Feeding
LIINI® 3.0 Bottle Warmer: User Manual
Everything you need to use your LIINI® 3.0 safely and easily: safety, first use, step-by-step instructions, cleaning, help with problems and warranty.

Safety instructions
Important information about the safety of your LIINI® product.
Sogar i dirä Schproch zum abelade. Don’t understand? Yes, Swiss German sometimes sounds a bit odd. That’s exactly why we have made the safety, use and cleaning instructions available to download in your language.
GPSR
- Safety testing: All our products are regularly tested to ensure that they pose no risk to health or safety.
- Transparent documentation: We make sure that all important information about the safe use of our products is clear and easy to understand.
- Traceability: Every product carries information about the manufacturer, importer or distributor to enable seamless tracing.
You can find all relevant safety documents as well as use and cleaning instructions in a total of 9 languages via the button below.
To the PDF documentsTechnical data
All the technical details about the bottle warmer for on the go.

Dimensions / temperature levels / battery
| Height | 81.5 mm |
|---|---|
| Diameter | 93.5 mm |
| Weight | 414 g |
| Temperature levels | 37 °C (breast milk) 40 °C / 45 °C / 50 °C (pre formula) |
| Heating power | 75 W |
| Battery | Lithium-ion battery, 11,400 mAh |
| Normal charging | 5 V / 2–3 A |
| Fast charging | 9 V / 2–3 A, 12 V / 2 A, 20 V / 1.5 A |
| Charging current | max. 3 A |
| Air travel | Permitted on all flights in hand luggage |

Certifications
LIINI® 3.0 has all the important approvals and meets the high safety and health standards of the EU and Switzerland.
- CE certified: Our bottle warmer is, of course, CE certified and complies with the regulations that apply in the EU.
- FDA certified: In addition to the European certification, we also hold an approval for the American market.
- RoHS certified: LIINI® 3.0 has been thoroughly tested for harmful substances and meets the applicable maximum limits for hazardous substances.
Everything you need to know before first use
Just a few more steps until LIINI® 3.0 makes your everyday life as a mum or dad easier.
Check the scope of delivery
Congratulations on your purchase of your bottle warmer. All bottle warmers come in sealed packaging because they are a hygiene product. We attach great importance to hygiene standards, so please check immediately after receiving your parcel that the packaging seals have not been broken. The scope of delivery includes:
- LIINI® 3.0 bottle warmer
- USB-C fabric cable, white
- Seal for the heating plate (already inserted)

Fully charge the bottle warmer
Before first use, the bottle warmer should be fully charged using the USB cable supplied. With the LIINI quick-charge adapter (available as an option), a full charge takes about 90 minutes. Always make sure you use only suitable adapters that carry a CE marking.
Danger
Use certified charging adapters only
Using a cheap charging adapter from the usual Chinese online marketplaces can be life-threatening, and we strongly advise against it!
If you want to check the battery level while charging, you can briefly disconnect the bottle warmer from the power supply. The current battery level is then displayed for 5 seconds.

Cleaning before first use
Before first use, we recommend thoroughly cleaning the heating area. To do this, you can remove the inserted sealing ring with your fingers.
Caution
No sharp objects
Please do not use sharp objects – they can cause damage and, as a result, leaks during use.
In the next step, you can clean and disinfect the heating plate and the sealing ring. We recommend our LIINI® cleaning and disinfecting wipes, which eliminate up to 99.9 % of all viruses and bacteria.

Caution
Do not boil
We advise against sterilising in a boiling water bath, as wear is higher and deformation can occur.
You can find replacement seals in our shop:
Order a replacement sealLid with screw cap
LIINI® 3.0 now has a plastic lid with a screw cap instead of the silicone lid of LIINI® 2.0.
Close the lid carefully and pay attention to the icons on the back of the bottle warmer. It is best to position the lid on the unlock icon and then turn it in the direction of the arrow to close it. Do not use force, to protect the guides in the housing and keep wear to a minimum.

Battery status display
LIINI® 3.0 now charges twice as fast as its predecessor. In just 90 minutes, you can fully charge the bottle warmer.
You can see the current battery level if you briefly disconnect the device from the power supply or remove the USB-C cable. The current battery level is then displayed for 5 seconds.
If your device is fully charged, the touchscreen shows “100” for 5 minutes and then switches off automatically.

Protect the USB port from moisture
The USB port of the device should be checked regularly for moisture – especially after cleaning.
We recommend blowing out the USB port before every charge to remove dust particles and residual moisture.

Step-by-step instructions
Preparing the baby bottle, explained step by step with pictures.
Step 1: Open the lid with the screw cap
The hard plastic lid protects the heating area from dirt. The lid can easily be removed and stored safely in the meantime.
When opening, pay attention to the icons on the back of the bottle warmer. Turn the lid towards the unlock icon to remove it.
For transport, we also recommend our LIINI® transport and travel bag made of 100 % cotton.

Step 2: Disinfect the heating plate
Before every use, the stainless-steel heating plate should be cleaned with a disinfecting wipe for babies. We recommend our LIINI® cleaning and disinfecting wipes.
You can leave the residual liquid from the wipe to work for 60 seconds and then wipe away the residue with a dry cloth.
Caution
Do not touch the housing
When disinfecting, take care not to touch the plastic housing of LIINI® – this could cause discolouration.

Step 3: Check the sealing ring on the heating plate
Before each use, check that the sealing ring is correctly fitted on the heating plate. The sealing ring must be inserted as shown in the illustration – the two sealing lips must always be visible and must not point downwards.
The sealing ring can easily be removed for cleaning and can also be cleaned on the go with a disinfecting wipe.
The sealing ring is a wearing part – you can find a suitable replacement in our shop:
Order a replacement seal
Step 4: Check the sealing ring in the adapter
If your baby bottle does not need an adapter, please continue with step 6.
All adapters have an additional sealing ring that keeps the connection between the baby bottle and the adapter tight.
During use, make sure that the sealing rings of the heating plate and of any adapter are not swapped.
The device is only 100 % leak-proof if both sealing rings (heating plate and adapter) are used.

Step 5: Screw on the adapter
An adapter is required when using the following baby bottles:
- Babylove by dm (wide-neck bottle)
- Babylove by dm (narrow bottle neck)
- Bibs
- Dr. Brown’s (narrow bottle neck)
- Lansinoh
- MAM
- NIP Cherry Green
- Medela
- NIP (narrow bottle neck)
- NUK First Choice
- NUK Nature Sense
- NUK Perfect Match
- Tommee Tippee
- Twistshake (plastic bottles)
Screw the adapter hand-tight onto the bottle warmer.

Step 6: Add breast milk / water
For breast milk: Pour the desired amount of breast milk directly into the baby bottle.
For milk powder / breast milk substitutes: When using powder products, the mineral water from the bottle (or boiled tap water) must now be poured into the baby bottle in the desired amount. The milk powder is not added yet.

Step 7: Screw onto the baby bottle
Now screw the bottle warmer upside down onto the baby bottle and tighten it hand-tight.
We can guarantee that the bottle warmer is 100 % leak-proof. If liquid leaks out, check that the sealing ring on the heating plate (step 3) and the one in the adapter (step 4) are fitted correctly.
If both sealing rings are in place and liquid still leaks out, also check both sealing rings for cracks.

Step 8: Switch on LIINI 3.0
The bottle warmer has a child lock.
Start the bottle warmer by touching the power icon area for 3 seconds and keeping your finger on the icon. You only need to touch gently and not press.
Once the device has been unlocked, the current battery level is displayed. By touching once again while the battery level is shown (do not leave your finger on it), you can now set the temperature.

Step 9: Set the desired drinking temperature
Now select the drinking temperature you want for your baby. You can choose from the following temperature levels:
- 37 °C (breast milk)
- 40 °C
- 45 °C
- 50 °C
When using pre formula, follow the manufacturer’s instructions (see packaging).
The device now starts heating the contents of the baby bottle fully automatically.
Note
Place it on a level surface
During warming, it is important that the bottle warmer stands on a level surface (e.g. a table). Only then can it be guaranteed that the displayed temperaturematches the actual temperature of the contents.
As soon as the temperature you have set (37 °C / 40 °C / 45 °C / 50 °C) is reached, the device beeps. The keep-warm function then automatically keeps the baby bottle at drinking temperature until you switch the device off.

Step 10: Add the milk powder
If you use LIINI with breast milk, you can skip this step.
You can now separate the baby bottle from the bottle warmer and add the milk powder.
Mixing the powder with the water works best with circular movements. Avoid shaking it vigorously, as this can cause tummy ache in your baby.
For on the go, we recommend our LIINI® formula dispenser.

Step 11: Bon appétit!
Now you can screw the teat onto your baby bottle.
The baby bottle is now ready for your hungry baby.
The LIINI® team wishes you bon appétit! 🙂

Cleaning LIINI® correctly
For the longevity of the device and the safety of you and your children!
How to clean the device properly
Improper handling can pose serious risks. Please therefore follow the instructions below carefully to avoid hazards:
Danger
No exposure to water
Immersing your bottle warmer in water or cleaning it under running water can lead to water damage. The product must also never be sterilised in a steriliser! This poses serious dangers such as short circuits and can irreparably damage the battery. Such damage is not only a risk to the device but can also lead to fires, electric shocks or other accidents. If water gets into the product, it must on no account be used any further!
- Cleaning the heating area: Use only special cleaning wipes for baby products (available from specialist retailers) to clean the heating area. We recommend our LIINI® cleaning and disinfecting wipes.
- Cleaning the housing: Wiping the housing of the bottle warmer with a slightly damp cloth is entirely sufficient. For stubborn dirt, you may also use a little washing-up liquid. Make sure that no water can get inside the device. The electrical components and the battery are particularly sensitive to moisture.
- Regular checks: Check your device regularly for signs of damage or corrosion. If you notice anything unusual, or if water has accidentally got into the device, stop using it and contact our customer service immediately.

Limescale on the heating plate
Over time, limescale deposits will appear on the heating plate of LIINI® 3.0. Depending on where you live and how hard your water is, they can be more or less pronounced.
For light deposits, you can remove the limescale with a Scotch-Brite® sponge.
You can apply a little pressure to remove the limescale. The slight scratches are completely normal and affect neither the function of the device nor the stainless-steel heating plate.
For heavier deposits, you can leave some vinegar to work overnight. Usually the limescale can then be removed easily the next day.

Do I need an adapter for my baby bottles?
Everything about the different baby bottles on the market.
No baby bottle adapter needed
For the following baby bottles, no adapter is needed:
- LIINI® double-glass baby bottle 120 ml
- LIINI® double-glass baby bottle 220 ml
- Philips AVENT
- Elodie
- Chicco Perfect 5
- Chicco Original Touch
- Pigeon (wide-neck bottle)
- Dodie
- Combi
- Spectra
- Richell

A baby bottle adapter is needed
For all other baby bottles, an adapter is needed to use LIINI® 3.0 and prepare the bottle.
Click on your baby bottle brand below to go straight to the right adapter in our shop.
- Babylove by dm (wide-neck bottle)
- Babylove by dm (narrow bottle neck)
- Bibs
- Dr. Brown’s (narrow bottle neck)
- Lansinoh
- MAM
- NIP Cherry Green
- Medela
- NIP (narrow bottle neck)
- NUK First Choice
- NUK Nature Sense
- NUK Perfect Match
- Tommee Tippee
- Twistshake (plastic bottles)

Heating plate sealing ring / adapter sealing ring
Important to note in order to prevent leaks.
Adapters have a separate seal!
All adapters have a separate seal, which sits in the adapter itself and prevents liquid from leaking at the connection between the baby bottle and the adapter.
Caution
Do not swap the sealing rings
The sealing rings of the heating plate and of the respective adapter must not be swapped. If they were, the bottle warmer would no longer be leak-proof.
You can find replacement seals for the respective adapters in our shop:
Reorder LIINI® adapter seal
Heating plate seal: installation direction
For LIINI® 3.0 to be 100 % leak-proof during warming and not lose any liquid, the correct installation direction of the sealing ring on the heating plate is important.
The correct way to fit the sealing ring is shown in the illustration.

The sealing ring for the heating plate is a wearing part that must be replaced regularly.
Order a replacement sealHow long does warming take?
Ready to drink quickly.
Reference values
The time it takes to reach the desired drinking temperature depends on various factors:
- Ambient temperature (winter / summer)
- Drinking temperature (37 °C – 50 °C)
- Starting temperature (fridge)
- Bottle size
- Bottle material (plastic / glass)
For this reason, we cannot give you any binding warming times.

Temperature values and tolerances
Trust is good – checking is better.
Tolerances in warming temperatures
The different temperature levels of LIINI® 3.0 are checked with calibrated temperature measuring devices and adjusted accordingly. Because of the following variables, tolerances of up to +/- 2.5 °C can occur in the warming temperature:
- Bottle material (glass / plastic)
- Ambient temperature
- Water hardness
- Consistency of the breast milk
- Accuracy of your measuring device (follow the manufacturer’s instructions)

Checking the temperature: how to do it right
To create test conditions that are as comparable as possible, we recommend checking the temperature as follows:
- Measure immediately after the beep.
- The temperature may only be taken in the middle of the baby bottle.
- Under no circumstances should meat thermometers or other cheap measuring devices be used to verify the temperature. These devices are not suitable for measuring liquids!
- We recommend a digital clinical thermometer for the measurement.
- Tolerances of up to 2.5 °C are unavoidable and do not constitute a product defect.

Help – my device is not responding
The causes and the solution to your problem.
Cause 1: Deep-discharge protection
The most important thing first: there is nothing wrong with your device! 🙂
The bottle warmer has switched to protection mode to protect the device from damage to the battery and the circuit board (PCB).
This protection mode can be triggered by the following events:
Protection against deep discharge of the battery
- Standby consumption: The bottle warmer has a standby circuit that ensures the device is activated as soon as the touch area is touched. This circuit needs a minimal amount of energy to respond to the input.
- Electronic control: The control electronics that monitor charging or heating also need a small amount of power when the device is switched off.

Cause 2: Overvoltage, undervoltage and fluctuations in the power supply
- Overvoltage or undervoltage: The bottle warmer is designed for a specific input voltage. If the voltage is too high (overvoltage) or too low (undervoltage), the charging electronics or the battery can be damaged. Overvoltages can overload the circuits and cause irreparable damage, while undervoltages mean that the device either does not charge correctly or the charging time is considerably extended.
- Unstable power supply: Fluctuations in the mains can cause the charging electronics to try continuously to stabilise the voltage. This puts additional stress on the components and leads to inefficient use of energy, which can impair the battery’s service life and reduce the device’s functionality.
Caution
Use high-quality charging adapters
For this reason, it is essential to use only high-quality charging adapters and the original charging cable for charging.

How to reactivate your LIINI® 3.0
Explained step by step.
Step 1: Heat the anti-slip silicone
Take your hairdryer and warm the sticker on the housing base with circular movements for a maximum of 1 minute.

Step 2: Remove the anti-slip silicone
Now remove the anti-slip silicone from the housing base. It is best to do this with your fingers or with the help of a blunt object.

Step 3: Undo the screws
Loosen and remove all 4 screws that firmly connect the housing base to the bottle warmer.

Step 4: Take off the housing base
Now carefully remove the housing base from the bottle warmer.

Step 5: Disconnect the red plug from the bottle warmer
Now disconnect the red plug from the circuit board for at least 10 seconds. You can wiggle the plug slightly from side to side to make it easier to pull out.

Step 6: Reconnect the red plug
Now reconnect the plug to the circuit board. The device confirms that protection mode has been cancelled with a beep.

Step 7: Refit the housing base
Now place the housing base back on the bottle warmer.
Pay attention to the correct installation direction as shown in the illustration.

Step 8: Tighten the screws
Now screw all 4 screws back into the housing. Please do not overtighten – hand-tight is perfectly sufficient.

Step 9: Stick the anti-slip silicone back on
Finally, you can put the anti-slip silicone back on.

Done – the device now works completely normally again.
How many baby bottles does my baby need?
Guideline values for your baby’s food intake.
Regular weighing is important
The amount of milk for your baby depends on its weight – that is why your baby needs to be weighed regularly.
Doctors recommend 6–8 meals within 24 hours.
Note
Basic formula for the calculation
Baby’s weight / 6 = daily milk quantity in millilitres
Example: At a weight of 4200 g, this gives a daily requirement of 700 ml:
- 115 ml per bottle for 6 meals
- 90 ml per bottle for 8 meals

Warranty
LIINI® stands for quality.
The products carry a warranty of 24 months in total from receipt of the order. Wearing parts are completely excluded from the warranty.
Wearing parts are:
- Battery (the battery of the device has a service life of approx. 500 full charge cycles. After that, the battery still delivers approx. 80 % of its original performance).
- Seals (adapter and bottle warmer)
The warranty is also excluded:
- If the defect is due to improper handling or use of the product that does not correspond to normal use.
- To ensure the longevity and safety of the bottle warmer, it is important that it is used in accordance with the manual and our manufacturer’s specifications. We would like to point out that permanently connecting the battery-powered device to a power source for a longer period, especially overnight, impairs battery performance and service life and greatly increases wear. In such a case, all warranty and guarantee claims are excluded!
- If the defect is due to a malfunction caused by incorrect operation that does not correspond to the instructions described in the relevant user manual.
- If the defect is due to external interference (“third-party intervention”), in particular repairs and interventions by persons who have not been authorised to do so by LIINI AG.
- If the product has been damaged by contact with water / water damage.
- Normal signs of wear and tear do not give rise to a warranty claim.
LIINI AG may fulfil the warranty either by partial replacement (e.g. spare parts such as seals) or by complete replacement with an equivalent product.
To check a warranty claim, the customer must open a ticket in the “Problem with device / defect” category of the ticket system at www.LIINI.ch/support and provide the following evidence:
- Video showing the problem
- Picture 1: front of the device
- Picture 2: back of the device
- Picture 3: underside of the device
- Picture 4: heating plate of the device
If LIINI AG finds corresponding damage to the device (e.g. a misshapen heating plate, atypical scratches or dents, etc.), any warranty is excluded.
By submitting the ticket, the customer confirms that all information is truthful. Should it emerge during the processing of the warranty case that warranty fraud has taken place, LIINI AG reserves the right to take appropriate legal action.
Manufacturer identification and EU authorised representative
According to the Product Safety Act (ProdSG).
Manufacturer identification & contact address
Responsible for the import and distribution of all products:
| Contact address | LIINI AG Bahnhofstrasse 21 4571 Lüterkofen |
|---|---|
| UID | CHE-131.522.878 |
| Commercial register office | Cantonal Commercial Register of the Canton of Solothurn |
| VAT ID for the EU | DE352084049 |
| Tax number at the Konstanz tax office | 09417/18455 |
| VAT number | CHE-131.522.878 VAT |
EU authorised representative
Exclusively for contact by authorities.
| EU authorised representative | Easy Access System Europe Oü Mustamäe tee 50 10621 Tallinn Estonia |
|---|
Need help?
Create a ticket with the product name and your order number.
Related guides
Feeding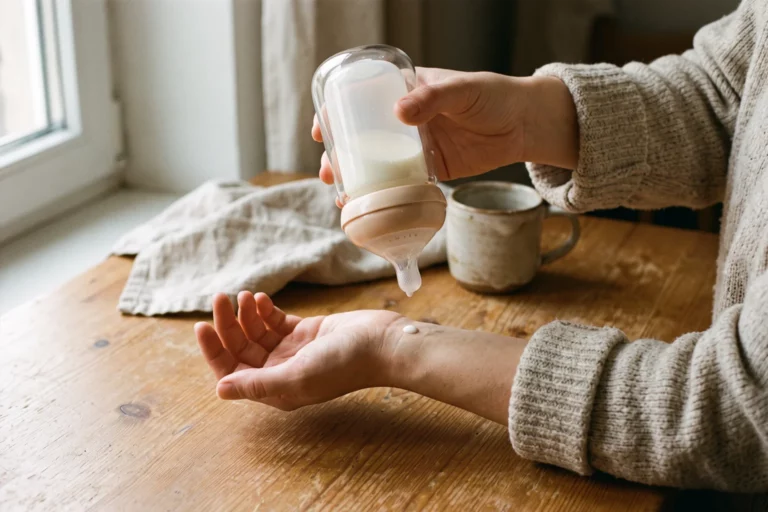 Feeding
How Warm Should Baby Milk Be? Temperature for Breast Milk and Formula
Body temperature is ideal, but cool is often fine, too: Here's how to find the right temperature for breast milk and formula. Includes a temperature scale and the wrist test. Feeding


